
I have watched a validated method fail on a Monday morning because someone opened a new case of vials from a different lot. The chromatograms were not catastrophically wrong. They were just slightly worse: peak area RSD crept from 0.4% to 1.8%, one late-eluting peak grew a shoulder, and the autosampler started logging a few “no sample” errors on the first injection of each tray. Nothing in the method had changed. The vials had. Finding that took three days of instrument checks that should have taken three hours, because nobody had a way to compare the old lot against the new one.
Batch-to-batch variation is the quiet failure mode in HPLC vials. It does not announce itself with a shattered vial or a bent needle. It shows up as drift, as intermittent autosampler faults, as a ghost peak you cannot source. This article is about catching it early, before it costs you a repeat run or a failed batch release, and about building a detection habit that takes ten minutes per lot.
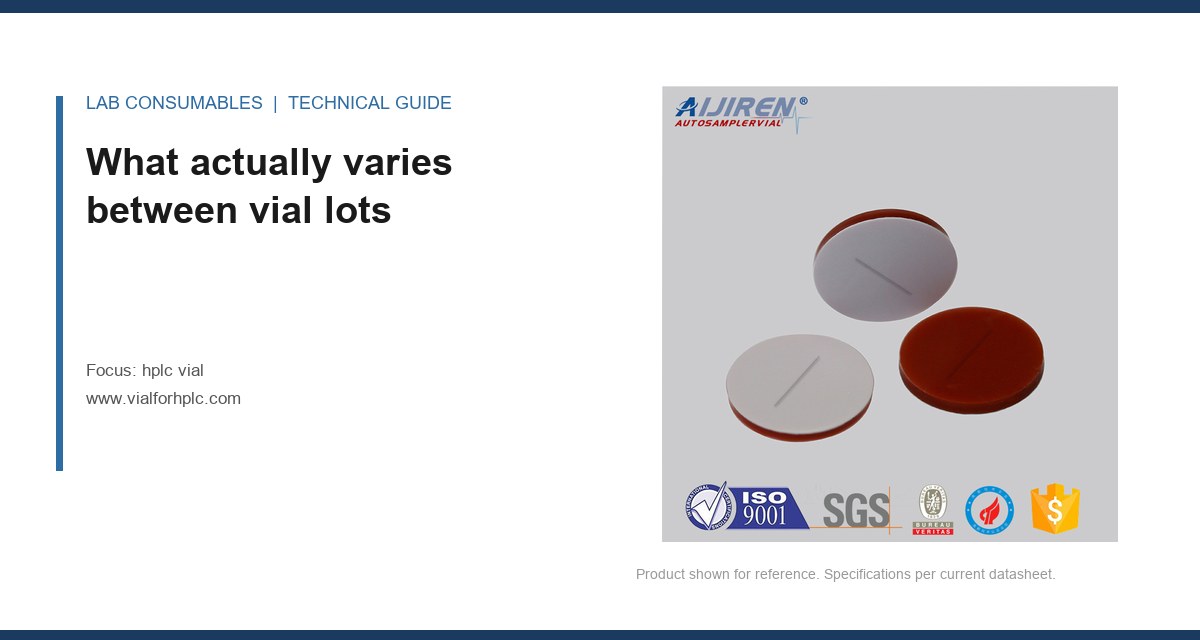
People assume the glass is the variable. Usually it is not. Borosilicate 33 glass from a competent drawing tower is remarkably consistent, and the hydrolytic resistance class (Type I per USP <660> and ASTM E438) is well controlled. The variation that bites you lives in the closure and in the dimensional tolerances of the neck finish. Those are the parts assembled from molded components and elastomer sheet, and molding plus elastomer compounding is where lot-to-lot drift concentrates.
The four variables that move
- Septum hardness and compression set. Silicone and silicone/PTFE septa are specified by durometer (typically 45 to 55 Shore A for standard 9 mm septa). A shift of five points in durometer changes how the septum reseals after needle withdrawal. Softer septa seal better but core more; harder septa resist coring but leak sooner on repeated puncture.
- Septum thickness and pre-slit geometry. A pre-slit septum (common in <9 mm caps for 12 x 32 mm vials) depends on slit depth and centering. If the slit is off-center by 0.3 mm, the needle path changes and you get coring on one side of the slit.
- Cap crimp or thread geometry. For crimp caps, the aluminum skirt height and the crimping anvil setting determine seal force. For screw caps, the thread pitch and the cap’s internal shoulder height set how much the septum is compressed. A 0.2 mm change in shoulder height is enough to under-compress a septum and produce evaporation or a loose seal.
- Neck finish dimensions. The 12 x 32 mm vial neck has a defined crimp or thread finish. GPI (Glass Packaging Institute) thread finishes and the 9 mm screw standard define the critical dimensions. Out-of-tolerance neck OD or thread depth will not show up until you cap a few hundred vials and a fraction leak.
The practical point: when you investigate a batch problem, do not stop at “the glass looks the same.” Measure the closure and the neck. That is where the drift lives.
Why batch variation hides until it is expensive
A single failing vial is obvious. A lot that is 2% out of tolerance is not. If 2 vials in 100 have a slightly under-compressed septum, you will not see it until those two vials reach the autosampler, and by then you have already queued 98 good injections around them. The failure is diluted by the good vials, which is exactly why it survives a visual inspection and a single-injection smoke test.
There is a second reason it hides: the autosampler tolerates a lot. Modern autosamplers (Agilent, Thermo, Waters) have needle guides, septum piercing depth control, and pressure sensors that will push through a soft or slightly off-center septum without complaint. The instrument absorbs the variation until it cannot, and then it fails all at once. You get a cluster of errors, not a gradual warning. For background on the mechanical side of this, the sister article on HPLC vial failure families is worth reading alongside this one.
Early detection: the ten-minute lot intake test
You do not need a metrology lab. You need a repeatable intake check that catches the drift before the lot reaches a validated run. I run four checks on every new lot of vials and closures, and I log the results against the previous lot. The whole thing takes about ten minutes for a case.
Check 1: dimensional spot check with calipers
Pull 10 vials at random from the case. Measure neck OD, overall height, and (for screw vials) thread depth with a digital caliper reading to 0.01 mm. Compare the mean and range against your reference lot. A shift in mean neck OD of more than 0.15 mm, or a range wider than 0.20 mm across the ten, is a flag. The absolute numbers matter less than the comparison to your known-good lot.
Check 2: septum compression test
Cap 10 vials with the new lot of closures using your normal capping tool. For screw caps, torque to your standard setting, typically 0.6 to 0.8 N·m for 9 mm screw caps on 12 x 32 mm vials (check your cap supplier’s spec; over-torque deforms the septum and causes coring). Then measure the cap height above the vial shoulder with calipers. Consistent cap height across the ten tells you the septum is being compressed the same way every time. A spread of more than 0.15 mm in cap height means the shoulder height or septum thickness varies, and that lot will give you sealing trouble.
Check 3: puncture and reseal test
This is the one most labs skip and the one that catches the most problems. Take 5 capped vials, fill each with water, and puncture each septum 10 times with a spare autosampler needle (or a 0.5 mm OD blunt-tip needle on a syringe). After the tenth puncture, invert the vial and check for leakage over 30 seconds. Then weigh each vial before and after a 24-hour hold at room temperature to check for evaporation loss. A loss greater than 1% of fill mass indicates a reseal problem. Coring debris visible in the water after puncture is a separate red flag: it means the needle is cutting rather than parting the septum.
Check 4: first-injection autosampler trial
Run a short sequence: 12 injections of a stable standard from the new lot, using the same method and the same instrument as production. Watch three things: peak area RSD (should stay under 1.0% for a well-behaved standard), any autosampler error codes, and any change in retention time. A new lot that pushes RSD above 1.0% when the old lot sat at 0.5% is telling you something about the septum or the seal. This check also catches needle-septum interaction problems that the bench tests miss.
A decision checklist for lot acceptance
Here is the checklist I use to decide whether a lot goes into production, gets quarantined for retest, or gets rejected. The numbers are the ones I have found work in practice; adjust them to your method’s tolerance, but do not drop the checks.
- Neck OD mean shift vs. reference: accept <0.10 mm, retest 0.10 to 0.15 mm, reject >0.15 mm.
- Neck OD range across 10 vials: accept <0.15 mm, retest 0.15 to 0.20 mm, reject >0.20 mm.
- Cap height spread across 10 capped vials: accept <0.10 mm, retest 0.10 to 0.15 mm, reject >0.15 mm.
- Puncture/reseal leak after 10 punctures: accept zero leaks, reject any leak.
- Evaporation loss over 24 h: accept <0.5%, retest 0.5 to 1.0%, reject >1.0%.
- Peak area RSD over 12 injections: accept <1.0%, retest 1.0 to 1.5%, reject >1.5% (or any autosampler error).
- Visible coring debris: reject the lot.
Two rules on top of the numbers. First, always compare against a retained sample of the last accepted lot. Absolute values drift with your instrument and your standards; relative comparison is what catches batch variation. Second, if any single check lands in “reject,” quarantine the lot before you run it in production. It is far cheaper to retest a case than to repeat a validated batch.
What causes a lot to drift in the first place
Understanding the source helps you predict which lots to watch. In my experience the causes cluster into four areas.
Elastomer compounding
Silicone septum stock is compounded in batches. Cure time, catalyst level, and filler loading all affect durometer and compression set. A supplier who changes silicone source or cure schedule between lots can shift durometer by several points without changing the datasheet. This is why I ask for the durometer on the certificate of analysis, not just the material grade. If the supplier cannot give you a durometer value per lot, that is a signal about their process control.
Molding and tooling wear
Caps and septa are molded. Mold tooling wears, and a worn tool produces parts that are slightly out of tolerance before anyone notices. The neck finish on the vial itself is also molded or formed, and tool wear there changes the critical dimensions. A supplier running a mold past its service life will ship a lot that measures fine on average but has a wider range. That is why the range check in the intake test matters as much as the mean.
Assembly and capping tension
For pre-assembled caps (cap plus septum), the assembly press setting determines how the septum sits in the cap. A press that is slightly out of adjustment will seat some septa higher than others. You will see it as cap height variation and as inconsistent reseal performance.
Storage and shipping
Elastomer septa absorb moisture and can take a compression set if stored under load or at high temperature. A lot that sat in a hot warehouse for six months before shipping will behave differently from one shipped fresh. Ask for the manufacture date, not just the expiry. I have seen septa that were fine at manufacture fail the reseal test after a summer in a non-climate-controlled trailer.
Building a lot-tracking habit
The intake test only works if you record it. Keep a simple log: lot number, manufacture date, the four check results, and the date the lot went into service. When a problem appears, you can trace it back to the lot and the check that should have caught it. Over a year, the log tells you which suppliers and which product lines are stable and which drift. That is procurement intelligence you cannot get from a catalog.
If you buy across multiple product lines, standardize the log across them. The chromatography consumables you buy from different sources should all pass the same intake test, and comparing results across suppliers is how you decide who gets the next contract. The same discipline applies to the lab vials you use for sample storage and to any Aijiren brand product line you are evaluating: the test is the same, the numbers are the same, the log is the same.
Where batch variation shows up downstream
It helps to know the symptoms so you can connect a bad run back to a lot. These are the patterns I have seen repeatedly, and each one points to a specific variable.
- Rising peak area RSD with no change in standard: usually septum reseal or evaporation. Check puncture/reseal and evaporation loss first.
- Intermittent “no sample” or “needle blocked” errors on the first injection of a tray: often a septum that is too hard or slightly off-center, so the needle misses the pre-slit and pushes the septum down.
- A new shoulder or ghost peak in the chromatogram: coring debris or extractables from a septum lot with a different compound. Run a blank injection from a punctured vial to confirm.
- Retention time drift across a tray: evaporation through an under-compressed septum. Weigh vials before and after the run to confirm.
- Leaks or sample loss on storage: cap height variation or a neck finish out of tolerance. Check cap height spread and neck OD range.
For the analytical side of these symptoms, the technical resources at Restek and the sample handling guidance from Thermo Fisher are useful references when you are narrowing down whether a symptom is vial-related or method-related. And if you work under a regulated method, the U.S. EPA SW-846 test methods define the sample handling requirements your vial has to meet, which is a useful cross-check when a lot fails the intake test and you need to document why the lot was rejected.
Operational precautions that reduce the impact of a bad lot
You cannot eliminate batch variation, but you can keep a bad lot from reaching a validated run.
- Retain a reference sample of every accepted lot. Keep at least 20 vials and 20 caps from the last good lot, sealed, in a cool dry place. This is your comparison standard for the next intake test.
- Quarantine new lots until they pass intake. Do not let a new case go straight to the bench because the old case ran out. The ten minutes of intake testing is cheaper than a repeat batch.
- Cap to a torque standard, not by feel. Use a torque wrench or a calibrated capping tool set to 0.6 to 0.8 N·m for 9 mm screw caps. Hand-tightening produces a spread of compression that masks or mimics lot variation.
- Store septa and caps away from heat and load. Do not stack cases of caps under heavy equipment. Compression set from storage is a real cause of reseal failure.
- Track manufacture date, not just expiry. A lot near the end of its shelf life behaves differently. Rotate stock so you use older lots first and test them before they reach the instrument.
- Run a blank from a punctured vial when a ghost peak appears. It takes two minutes and tells you whether the peak is from the septum or the sample.
When to switch suppliers
One bad lot is a quality event. A pattern of lots that fail intake, or that pass intake but drift within a month, is a supplier problem. I give a supplier two chances: if two consecutive lots fail the intake test, or if the same check fails three times in a year, I move the business. The intake log is the evidence you need to have that conversation, and it is the reason the log is worth keeping even when nothing goes wrong.
The other side of this: a supplier who provides per-lot durometer, manufacture date, and dimensional data on the certificate is telling you they control their process. That is worth paying for. The Agilent chromatography consumables and columns catalog is a useful benchmark for what a well-documented consumable spec looks like, and it is the standard I hold vial suppliers to when I ask for lot data.
Takeaway
Batch-to-batch variation in HPLC vials is not a glass problem, it is a closure and neck-finish problem, and it hides because the autosampler absorbs it until it cannot. Catch it early with a ten-minute intake test on every lot: dimensional spot check to 0.01 mm, cap height spread under 0.10 mm, puncture and reseal to 10 punctures with zero leaks, evaporation loss under 0.5% over 24 hours, and a 12-injection autosampler trial with peak area RSD under 1.0%. Compare every lot against a retained reference sample, quarantine until it passes, and keep the log. The instrument will not warn you. The log will.
References & further reading
Related resources from our lab consumables network:
- Hplc Vial at vialforhplc.com
- Chromatography Consumables at chromatographyconsumables.com
- Lab Vials at labvials.com
- Aijiren Brand at aijirenvials.com
External references and standards: