
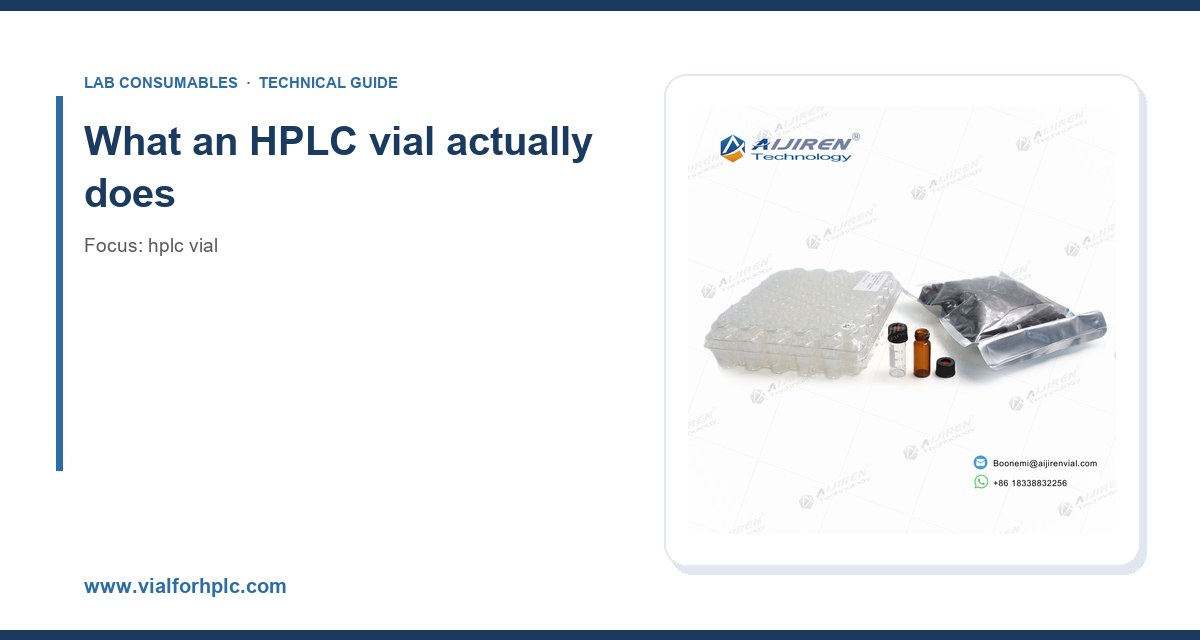
I have watched a lab save $40,000 a year on vials and then spend $90,000 on repeat injections because the septa were off-gassing into the headspace. I have also seen a QC group buy premium vials with the wrong neck geometry and jam a $200,000 autosampler. Vial selection is not a commodity decision. It sits at the intersection of chemistry, mechanical tolerance, and the specific instrument on your bench. This guide is what I tell procurement managers and lab supervisors when they ask me how to spec a vial program that survives audit, protects the column, and does not blow the consumables budget.
A vial is not a passive container. In an autosampler it is a precision mechanical part, a fluidic interface, and a chemical environment all at once. The needle must penetrate the septum at a defined point, the cap must seal against solvent vapor pressure, and the glass must not contribute extractables or adsorb the analyte. Get one of those wrong and the failure shows up as a ghost peak, a bent needle, or a chromatography baseline that drifts over a 12-hour run.
The standard configuration is a 2 mL (12 x 32 mm) vial with a 6 mm opening, a 9 mm screw thread or crimp neck, and a septum held by an aluminum or plastic cap. That is the format almost every autosampler in the world was designed around, from the Agilent 1260 series to the Waters Alliance. If you are setting up a new method, start from that format and only deviate when the instrument or the sample forces you to.
The three core formats
Crimp neck (9 mm). The original format. The cap is crimped onto the vial with a hand or pneumatic crimper. Sealing is excellent and the internal volume is fully usable. The downside is that crimping is a skill, and a badly crimped cap leaks or seats the septum at an angle. If your lab runs more than a few hundred samples a day, crimping becomes a bottleneck.
Screw thread (9 mm). The workhorse for most modern labs. The cap is torqued on by hand or with a torque tool. It reseals after sampling, tolerates being opened and reclosed, and does not need a crimper. The catch is thread tolerance: cheap screw vials have sloppy threads that cross-thread and leak, and the septum can be pushed down into the neck if the cap is over-torqued.
Snap or press-fit caps. Common on short 12 x 32 mm vials and on 11 mm formats. Fast, no tooling, but the seal is less reliable under vacuum or with volatile solvents. I keep them for aqueous samples and short autosampler runs, never for headspace or long unattended sequences.
Glass: the decision that quietly changes your results
Glass chemistry matters more than most buyers expect. There are three grades in routine use, and the difference is not cosmetic.
Type I borosilicate (clear and amber)
Type I borosilicate is the default for HPLC. It has a low alkali content, resists hydrolysis, and does not leach sodium or boron into the sample at the parts-per-billion level. For reverse-phase work with UV detection, clear Type I is fine. For light-sensitive analytes (vitamins, some pesticides, certain APIs), amber Type I blocks the UV range and protects the sample without changing the inertness. Amber glass is not just clear glass dyed on the surface; the color is in the melt, so it does not flake or leach.
Type I with a deactivated surface
For basic analytes, proteins, and anything that sticks to silanol groups, a deactivated (sometimes called “silanized” or “inert”) glass surface reduces adsorption. I have seen recovery of a low-level amine jump from 62% to 94% just by switching from standard glass to a deactivated vial. If your method has a basic compound at low concentration and your calibration curve is nonlinear at the bottom end, try a deactivated vial before you blame the column.
Type II and Type III glass
Type II (treated soda-lime) and Type III (soda-lime) are cheaper and fine for pH-neutral aqueous samples and short holding times. They are not appropriate for trace metals, for pH above 8, or for samples that sit in the autosampler overnight. The alkali leaching shows up as a rising baseline and as sodium or calcium peaks if you run ICP-MS on the same samples.
Septum selection: the part that actually fails
If I could change one purchasing habit in this industry, it would be to stop treating septa as an afterthought. The septum is the only part of the vial that touches the sample, the needle, and the headspace. It is also the part most likely to cause a problem.
Silicone
Excellent resealing and needle penetration, poor solvent resistance. Pure silicone swells in toluene, dichloromethane, and hexane. Use it for aqueous samples and short runs. It is the most forgiving septum for repeated injections because it re-closes cleanly.
Silicone with a PTFE face
The standard choice for HPLC. A PTFE film on the sample side gives solvent resistance; the silicone layer behind it gives resealing. The PTFE face is what contacts the sample, so extractables are low. This is the septum I specify for 80% of reverse-phase work. The weakness is that the PTFE can be pierced cleanly only so many times before it tears. Budget for roughly 50 to 100 punctures per septum depending on needle gauge; a 22-gauge needle is gentler than a 26-gauge.
PTFE/silicone/PTFE (sandwich)
PTFE on both faces. Better for aggressive solvents and for headspace because the silicone core is fully encapsulated. Slightly harder to pierce, and the needle can coring if it is dull. This is the septum for GC headspace and for any method using chlorinated solvents.
Butyl and EPDM
Low gas permeability, good for headspace and for samples that must not lose volatiles. Not for HPLC injection because they are harder to pierce and reseal less well.
Pre-slit septa
A slit cut into the septum lets the needle pass without coring. Great for high-throughput autosamplers and for preventing septum particles from dropping into the vial. The trade-off is a slightly higher evaporation rate on long runs. For a 24-hour sequence with volatile solvents, I use non-slit; for a high-throughput aqueous method, pre-slit saves needles.
Matching the vial to the autosampler
This is where most buying mistakes happen. Vials are standardized, but autosamplers are not. A vial that is 0.3 mm too tall will not seat; one that is 0.2 mm too wide will bind in the tray. Before you buy a pallet of anything, check the instrument manual for the exact vial dimensions and the maximum cap diameter.
Common instrument constraints
- Agilent 1260/1290 autosamplers: 12 x 32 mm, 9 mm screw or crimp. The tray geometry is tight; caps with a wide plastic overcap can bind. Check the cap OD against the tray spec.
- Waters Alliance/e2695: 12 x 32 mm, 9 mm. The needle guide is sensitive to cap height; a tall cap can cause a “vial not found” error.
- Thermo/Dionex autosamplers: generally 12 x 32 mm, but some models accept 11 mm or 10 mm formats. Confirm the carousel part number before ordering.
- Shimadzu SIL series: 12 x 32 mm, 9 mm; the SIL-30 series is picky about septum thickness, so stick to the specified 1 mm septum.
If you are unsure, the safest move is to buy a small evaluation pack from a supplier who publishes the exact dimensions and tolerance. Hplc Vial at vialforhplc.com lists the dimensional tolerances on the product pages, which is more than most catalogs do.
Volume, fill level, and the sample-needle relationship
The nominal volume of a 12 x 32 mm vial is 2 mL, but usable volume is lower. The autosampler needle has a dead volume, and the needle must reach the liquid. The practical rules I use:
- Minimum fill: 150 to 200 microliters for a standard 2 mL vial with a bottom-draw needle. Below that, the needle can aspirate air and you get a partial-loop injection with a 5 to 15% RSD hit.
- Maximum fill: about 1.5 mL. Overfilling leaves no headspace, and the needle can displace liquid onto the septum or into the cap.
- Insert volume: a 250 microliter insert in a 2 mL vial lets you run 100 microliter samples without changing the autosampler. Use inserts when sample is scarce, not when it is plentiful; inserts add a handling step and a second adsorption surface.
If your method uses a 10 microliter injection and you are filling vials to 1 mL, you are wasting sample. If you are filling to 100 microliters and seeing RSD above 2%, you are probably aspirating air.
Seal integrity, torque, and the numbers that matter
Screw caps are not “hand tight and hope.” Over-torque pushes the septum into the neck and can crack the cap; under-torque leaks solvent and lets the sample evaporate. For 9 mm screw caps, the practical torque range is 0.4 to 0.6 N·m (roughly 3.5 to 5.3 inch-pounds). A torque screwdriver costs $80 and eliminates a whole class of “why is my peak area dropping over the run” problems.
For crimp caps, the crimper adjustment matters just as much. A properly crimped 9 mm aluminum cap has a uniform skirt with no sharp edges and the septum sits flat. If the cap spins freely, it is under-crimped; if the glass neck is chipped, it is over-crimped. I keep a go/no-go gauge at the bench and check the first five caps of every new lot.
The reference standards worth knowing: the GPI 9 mm thread is the de facto industry thread for screw vials, and the dimensional requirements for glass containers are covered under ISO 4796 (laboratory glassware) and the USP <661> container chapter for packaging. If a supplier cannot tell you which thread standard they mold to, that is a signal.
Chemical compatibility: the short list
No septum survives everything. The table below is the practical version I give new analysts.
- Acetonitrile, methanol, water, buffers: PTFE/silicone is fine. Avoid long storage in pure acetonitrile; it slowly attacks the silicone through the PTFE pinholes.
- Dichloromethane, chloroform, toluene: PTFE/silicone/PTFE sandwich or a PTFE-faced septum. Pure silicone swells within hours.
- Hexane, heptane: PTFE-faced; check for evaporation over a 12-hour run.
- Strong acids and bases (pH below 2 or above 10): Type I glass only, and short hold times. Alkali attacks glass; acid attacks the aluminum cap.
- Aqueous samples with trace metals: Type I glass, no aluminum cap if you can avoid it, because the cap can contribute aluminum to the sample.
Cleanliness, extractables, and the ghost peak problem
A vial that is not clean enough will show up as ghost peaks in gradient runs. The most common culprit is residual mold-release agent or washing residue on the glass. Good suppliers wash with USP Purified Water and dry in a Class 100,000 cleanroom; cheap suppliers do not. If you see a peak at the solvent front that disappears when you switch vial lots, you have found your problem.
For LC-MS and for trace analysis, specify vials that are tested for extractables and shipped with a certificate. Ask for the lot’s extractable profile in the solvent you use. A supplier who cannot produce one is selling you a risk you will discover during an audit.
Buying checklist with concrete numbers
Here is the decision list I use when qualifying a new vial supplier. Print it and take it to the next vendor meeting.
- Format: 12 x 32 mm, 9 mm neck, 6 mm opening, 2 mL nominal. Confirm against the autosampler manual.
- Glass: Type I borosilicate, clear or amber. Deactivated surface for basic analytes.
- Dimensional tolerance: body OD within +/- 0.2 mm, height within +/- 0.3 mm, neck ID within +/- 0.1 mm. Ask for the inspection report.
- Septum: PTFE/silicone, 1.0 mm thick, 50 to 100 puncture rating, pre-slit if high-throughput.
- Cap: 9 mm screw, torque 0.4 to 0.6 N·m, or 9 mm crimp with a go/no-go gauge.
- Cleanliness: USP Purified Water wash, Class 100,000 drying, extractables certificate on request.
- Lot traceability: lot number on the carton and on the certificate of analysis.
- Price: expect $0.08 to $0.25 per assembled vial at volume; below $0.05, ask what was skipped.
If you are buying across a portfolio of instruments, the Chromatography Consumables catalog at chromatographyconsumables.com groups vials by instrument family, which saves a lot of cross-referencing. For general lab stock, Lab Vials at labvials.com carries the broader glassware range, and the Aijiren Brand line at aijirenvials.com is worth a look if you need a consistent molded thread at a mid-market price.
Operational precautions that prevent most failures
Most vial problems are operator problems. These are the habits that keep my labs out of trouble.
Before the run
- Inspect a sample of each new lot under a light. Reject lots with chipped necks, visible seams, or caps that do not seat flat.
- Check the septum is not pushed in or cocked. A cocked septum causes needle deflection and a bent needle.
- Fill to the mark, not to the brim. Leave at least 5 mm of headspace.
- Degas samples that will sit in the autosampler for more than 4 hours; dissolved gas forms bubbles that the needle aspirates.
During the run
- Keep the autosampler tray at or below 10 degrees C for volatile samples; above 25 degrees C, evaporation changes concentration over a long sequence.
- Never reuse a septum after it has been pierced. The reseal is a one-time property.
- Watch for a drift in peak area across the sequence. A downward drift usually means evaporation through the septum; an upward drift usually means the sample is concentrating.
After the run
- Remove vials promptly. Samples left in the tray overnight in a volatile solvent will lose volume and change concentration.
- Dispose of glass and septa per your chemical waste SOP. Do not recycle septa.
Troubleshooting checklist
When something goes wrong, work through this list before you touch the column.
- Ghost peaks at the solvent front: vial cleanliness or septum extractables. Try a different lot or a deactivated vial.
- Peak area drift downward over the run: evaporation through the septum. Check cap torque and septum type.
- Peak area drift upward: sample concentrating. Check tray temperature and cap seal.
- High RSD at low injection volume: needle aspirating air. Increase fill volume or use an insert.
- Bent or blocked needle: cocked septum, over-crimped cap, or a septum that has been pierced too many times.
- Vial not found error: cap OD too large for the tray, or vial height out of tolerance. Measure with calipers.
- Baseline rising through the run: alkali leaching from Type II/III glass. Switch to Type I.
- Loss of a volatile analyte: wrong septum. Use a PTFE/silicone/PTFE sandwich or butyl for headspace.
For method-specific guidance, the U.S. EPA SW-846 test methods specify vial and preservation requirements for environmental samples, and the Restek technical resources library has good application notes on septum selection for GC and HPLC. For instrument-specific consumable compatibility, the Agilent chromatography consumables and columns pages and the Thermo Fisher chromatography and sample handling documentation are the places to confirm part numbers before you commit to a pallet.
Cost of ownership: the number procurement should actually use
The sticker price of a vial is a poor guide. The real cost is the vial plus the cost of a failed run plus the analyst time to investigate it. A $0.06 vial that causes one repeat 96-well plate a month costs more than a $0.20 vial that does not. I model it as:
Cost per injection = (vial + cap + septum) + (probability of failure x cost of a repeat run) + analyst time per batch.
For a typical QC lab running 200 injections a day, a 1% failure rate on a $0.10 vial adds roughly $2,000 a month in repeat work once you count instrument time and analyst hours. The premium vial that cuts failure to 0.1% pays for itself. That is the argument to take to your procurement manager, not the unit price.
My recommendation
For most HPLC workflows, I specify a 12 x 32 mm Type I borosilicate vial, 9 mm screw thread, 6 mm opening, with a PTFE/silicone septum and a 9 mm screw cap torqued to 0.5 N·m. That configuration covers reverse-phase, ion-exchange, and size-exclusion work, fits every major autosampler, and reseals well enough for a 24-hour sequence. Add a deactivated glass option for basic analytes, and keep a stock of PTFE/silicone/PTFE septa for chlorinated solvents and headspace. Buy from a supplier who publishes dimensional tolerances and extractables data, and qualify each lot with a five-vial visual check and a torque gauge. That program has kept my labs out of repeat-injection trouble for years, and it will keep yours out too.
References & further reading
Related resources from our lab consumables network:
- Hplc Vial at vialforhplc.com
- Chromatography Consumables at chromatographyconsumables.com
- Lab Vials at labvials.com
- Aijiren Brand at aijirenvials.com
External references and standards: