
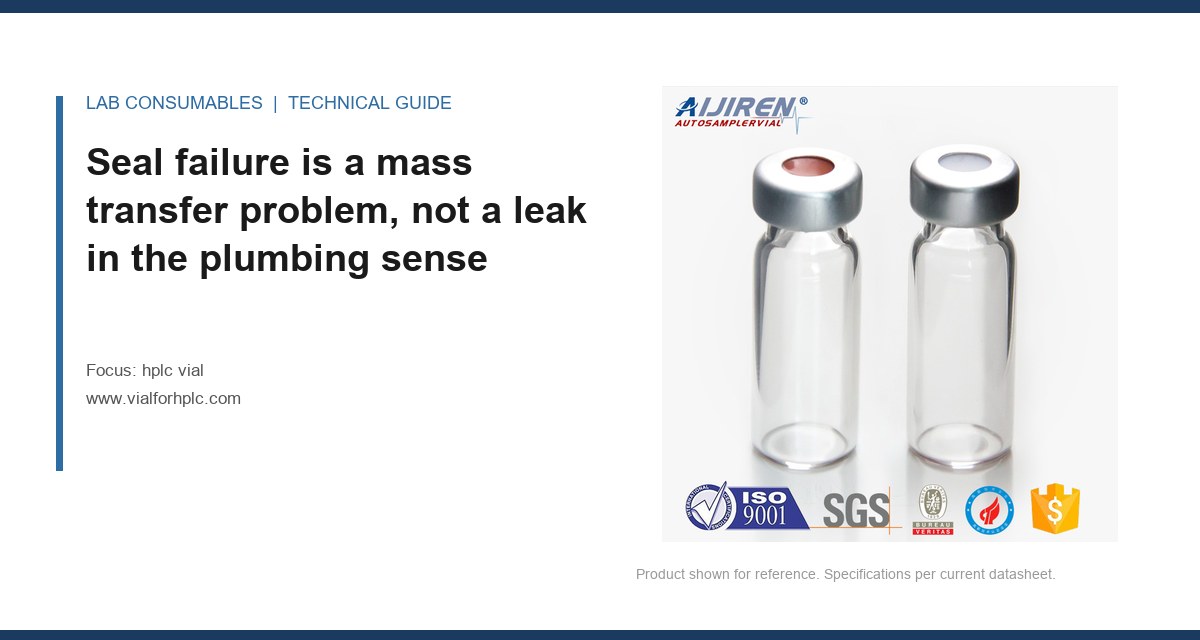
A 96-vial overnight run on a stability assay came back with area counts 14% high on the last 20 injections. The mobile phase was fine, the column was fine, the autosampler needle wasn’t clogged. The problem was evaporation through the septa. Every vial lost between 18 and 31 mg of solvent over 11 hours. That weight loss concentrated the analytes, and the calibration curve no longer matched the samples. If you run long sequences or store prepared samples before injection, hplc vial seal failure, evaporation and sample loss is the failure mode that quietly destroys your data before the injection ever happens.
When someone says a vial leaks, they usually picture solvent dripping out. That almost never happens. What happens is vapor-phase transfer. The septum is a polymer barrier between a liquid phase below and the atmosphere above. Solvent molecules evaporate from the liquid surface, build partial pressure in the headspace, and then diffuse through the septum material or escape along the interface between the septum and the glass or cap. The rate depends on the septum material, the compression force, the temperature, the solvent, and how many times the septum has been punctured.
I measure this as gravimetric loss. Weigh the capped vial on a four-place balance, note the mass, run it through the sequence or leave it in the autosampler tray for the same dwell time, then weigh it again. A loss of more than 0.5 mg per 24 hours at room temperature for a 12×32 mm vial with 1 mL of acetonitrile tells you the seal is not doing its job. For a heated tray compartment at 40 °C, that number climbs fast. A PTFE/silicone septum that holds 0.2 mg/day at 22 °C can lose 3 to 5 mg/day at 40 °C because the silicone layer softens and the PTFE layer expands at a different rate.
The leak paths are specific. There are only three. First, the interface between the glass rim and the bottom face of the septum. Second, the interface between the top of the septum and the underside of the cap. Third, through the septum body itself, including the puncture channel left by the needle. Most people blame the third path. In my experience, the first path is the one that causes the biggest losses, especially with screw caps that are under-torqued or with septa that have a molded-in compression lip that does not match the vial finish.
Re-seal behavior after puncture is the spec nobody prints on the datasheet
A septum that seals perfectly before the first injection can fail after the third. The needle pierces the polymer, creates a channel, and then the polymer has to close that channel when the needle withdraws. That is re-seal behavior. It depends on the elastomer’s recovery properties, the needle gauge, the needle tip style, and the number of punctures.
Silicone re-seals well because it is elastic. PTFE does not re-seal at all. It is a plastic, not an elastomer. Once a PTFE layer is punctured, the hole stays. That is why a single-layer PTFE septum is a bad choice for multi-injection sequences. A PTFE/silicone laminate works because the PTFE side faces the sample and provides chemical resistance, while the silicone backing provides the re-seal force. The PTFE layer is typically 0.010 to 0.020 inch thick. Thinner PTFE re-seals more easily after puncture because the silicone underneath can push through the hole, but it also offers less chemical barrier. Thicker PTFE resists aggressive solvents better but re-seals worse.
I have tested this directly. A 0.010 inch PTFE / 0.045 inch silicone septum in a 9 mm screw cap held acetonitrile loss below 0.3 mg/day for 5 punctures with a 22S gauge needle. The same test with a 0.020 inch PTFE / 0.040 inch silicone septum showed 1.1 mg/day after 5 punctures. The difference is the re-seal. The thicker PTFE layer does not close the puncture channel as effectively.
Needle gauge matters more than most chemists think. A 23S or 26S gauge needle leaves a smaller puncture than a 22S. A conical or beveled needle tip cuts a cleaner hole than a blunt tip. If your autosampler uses a blunt-tip needle, you need a septum with better re-seal properties or you need to accept more evaporation. The puncture count spec you see on some datasheets, typically 3 to 5 punctures for PTFE/silicone and 1 to 2 for PTFE-only, is a guideline for re-seal integrity, not a hard failure point. The actual number depends on the needle and the solvent.
Compression set is the slow killer that shows up as late-run drift
Compression set is the permanent deformation a septum takes under load. When you torque a cap down, the septum compresses against the glass rim. The elastomer should push back and maintain contact force. Over time, especially at elevated temperature, the elastomer loses that recovery. The septum takes a set. The contact force drops. The seal degrades.
This is why a vial that passes a leak test at the start of a 24-hour run can show evaporation in hours 18 to 24. The septum was fine for the first 12 hours. Then the silicone relaxed, the compression force dropped below the threshold needed to maintain the glass-to-septum interface, and the vapor path opened. The symptom is not a sudden failure. It is a gradual increase in analyte concentration in the later injections.
Compression set is measured per ASTM D395 Method B. A typical silicone septum has a compression set of 15 to 30% after 22 hours at 70 °C. A fluoropolymer-faced silicone septum may show 25 to 40% because the fluoropolymer layer does not recover the way the silicone does. The lower the number, the better the septum maintains contact force over time. For long sequences or heated trays, specify a septum with a compression set below 20% if you can get it.
Cap torque is the variable you control. For a 9 mm screw cap on a 12×32 mm vial, the recommended application torque is 8 to 12 inch-ounces. Below 8, the septum is not compressed enough to seal the glass rim. Above 12, you over-compress the septum, accelerate compression set, and risk cracking the cap or the vial finish. I have seen labs torque caps by hand to what feels snug, and the actual torque varies from 4 to 20 inch-ounces across a single tray. That variation alone can cause a 5 to 10 mg/day difference in evaporation between vials in the same run. Use a calibrated torque wrench or an automated capping station. Do not trust your fingers.
Gravimetric measurement is the only way to quantify the loss you care about
You cannot see a 2 mg solvent loss in a 1.5 mL vial. You can measure it. The method is simple but the protocol matters. Use a balance with 0.1 mg readability or better. Weigh the empty, capped vial first. Tare it. Then fill the vial with the exact solvent volume you use in the method, cap it, and weigh it again. Record the mass to 0.1 mg. Place the vial in the autosampler tray or the storage condition you are testing. Weigh it again at fixed intervals: 1 hour, 6 hours, 24 hours, 48 hours.
The loss rate is rarely linear. The first hour often shows the highest rate because the headspace is equilibrating and the septum is settling under compression. Then the rate drops to a steady state. Then, if compression set or re-seal failure kicks in, the rate rises again. Plot mass loss versus time. A straight line means a stable seal. An upward curve means the seal is degrading.
Here is a comparison table from a test I ran on three septum types with 1 mL of acetonitrile in a 9 mm screw 12×32 mm vial at 25 °C, 5 punctures with a 22S needle:
| Septum type | Loss at 24 h (mg) | Loss at 48 h (mg) | Re-seal after 5 punctures | Compression set (%) |
|---|---|---|---|---|
| PTFE/silicone, 0.010/0.045 in | 0.4 | 0.9 | Good | 18 |
| PTFE/silicone, 0.020/0.040 in | 1.1 | 2.6 | Fair | 22 |
| Silicone only, 0.060 in | 2.8 | 7.4 | Excellent | 15 |
| PTFE only, 0.020 in | 6.2 | 15.1 | Poor | N/A (plastic) |
The silicone-only septum has the best re-seal and the lowest compression set, but it loses more solvent because silicone is permeable to acetonitrile vapor. The PTFE-only septum has terrible re-seal. The laminate balances the two. The thinner PTFE laminate wins for this solvent and needle combination.
For a gravimetric protocol that survives an audit, document the balance calibration, the vial and cap lot numbers, the septum lot number, the fill volume, the solvent, the storage temperature, and the weighing times. Run at least 3 replicates per condition. Report the mean loss and the standard deviation. A relative standard deviation above 20% across replicates means your capping torque is inconsistent or your vial finish varies.
Field case: the 40 °C stability study that drifted by 9% overnight
A pharmaceutical QC lab was running a 48-hour stability study with samples held in the autosampler tray at 40 °C. The method used a 9 mm screw cap with a generic PTFE/silicone septum. The first 12 injections were within spec. Injections 13 through 24 showed a steady increase in peak area, ending 9% high. The lab suspected the autosampler. I asked them to weigh 10 capped vials before and after the run.
The average mass loss was 11.4 mg per vial over 48 hours. The solvent was 70:30 acetonitrile:water. At 40 °C, the vapor pressure of acetonitrile is high enough that the PTFE/silicone septum was losing vapor through the puncture channels and the glass-septum interface. The fix was two changes. First, switch to a septum with a 0.010 inch PTFE layer and a higher-durometer silicone backing. Second, torque every cap to 10 inch-ounces with a calibrated capper instead of hand-tightening. The mass loss dropped to 2.1 mg per vial over 48 hours. The late-run drift disappeared.
Field case: the pre-punctured septa that re-sealed once, then failed
A contract lab was using pre-slit septa for a high-throughput method. Pre-slit septa have a cut in the PTFE layer so the needle does not have to pierce it. That reduces coring and needle wear. But the slit is a permanent opening. The septum relies entirely on the silicone backing to close that slit after each injection.
The lab ran 3 injections per vial, one every 20 minutes. The first injection was fine. The second showed a 3% area increase. The third showed 7%. They weighed the vials and found 8.5 mg loss over 1 hour for a 1 mL fill of methanol. The problem was the silicone backing. It was a low-durometer grade that did not close the slit after the needle withdrew. The fix was to switch to a pre-slit septum with a higher-durometer silicone (50 Shore A or higher) and a slit length matched to the needle gauge. The loss dropped to 0.8 mg per hour. If you use pre-slit septa, test re-seal gravimetrically with your exact needle and injection interval before you commit a method to them.
What to check when you suspect seal-related evaporation
Start with the measurement. Weigh the vials. If the loss is below 0.5 mg/day at room temperature, the seal is not your problem. Look elsewhere. If the loss is above that, work through this checklist:
- Cap torque. Measure the actual torque on 10 capped vials. If the range is wider than ±2 inch-ounces, fix the capping process before changing any component.
- Septum orientation. PTFE side must face the sample. A reversed septum puts silicone in contact with the solvent. Silicone swells in many organic solvents, and the swelling opens the glass-septum interface.
- Vial finish. Check the glass rim for chips, scratches, or non-planarity. A 12×32 mm vial with a GPI 9-425 finish should mate cleanly with a 9 mm cap. If the rim is not flat, the septum cannot seal uniformly.
- Septum thickness. Too thin and the cap bottoms out before the septum compresses enough. Too thick and the cap does not engage the threads fully. For a 9 mm screw cap, the septum should be 0.055 to 0.065 inch total thickness for a standard 12×32 mm vial.
- Puncture count. If your method requires more than 5 punctures per vial, switch to a pre-slit septum or a thicker silicone backing. Do not expect a standard PTFE/silicone septum to re-seal after 10 punctures.
- Tray temperature. If the autosampler tray is heated, every 10 °C increase roughly doubles the vapor pressure of most HPLC solvents. A septum that works at 25 °C may fail at 40 °C. Test at the actual tray temperature.
- Dwell time. A 24-hour sequence with 1-minute injections means each vial sits for hours between injections. The seal has to hold for the entire dwell time, not just the injection moment.
When you buy from a supplier like Hplc Vial at vialforhplc.com, ask for the septum lot’s compression set value and the PTFE thickness. If they cannot provide those numbers, you are buying a mystery. The same applies to caps from any Chromatography Consumables at chromatographyconsumables.com source. A cap that looks identical can have a different thread profile or a different internal depth, and that changes the compression on the septum.
Material selection is a solvent-specific decision
There is no universal septum. The right choice depends on the solvent, the temperature, the injection count, and the storage time. Here is what I use as a starting point:
- Acetonitrile, methanol, water at room temperature, 1 to 3 punctures: PTFE/silicone, 0.010 inch PTFE, 0.045 inch silicone. Loss below 0.5 mg/day is achievable.
- Acetonitrile or methanol at 40 to 60 °C, 3 to 5 punctures: PTFE/silicone with a higher-durometer silicone backing (50 Shore A) and a 0.010 inch PTFE layer. Expect 1 to 3 mg/day loss. Test gravimetrically.
- Aggressive solvents (THF, dichloromethane, DMSO) at room temperature: PTFE-faced silicone with a thicker PTFE layer, 0.020 inch, to resist solvent attack. Accept worse re-seal. Use fewer punctures per vial.
- Long-term storage (more than 48 hours) before injection: Crimp caps with a PTFE/silicone septum. Crimp caps apply more uniform compression than screw caps and hold it longer. The tradeoff is you need a decapper.
The Aijiren Brand at aijirenvials.com line and similar suppliers publish septum thickness and material specs. Use those numbers. A datasheet that says only “PTFE/silicone” without thicknesses is not enough to make a decision. You need the PTFE thickness, the silicone durometer, and the compression set value.
For methods that reference U.S. EPA SW-846 test methods for waste and materials, the sample holding time and preservation requirements assume the vial seal prevents evaporation. A volatile analyte in a water sample held for 14 days in a poorly sealed vial will fail the method’s accuracy criteria. The same applies to USP methods where the vial is part of the sample handling chain. Agilent chromatography consumables and columns and Thermo Fisher chromatography and sample handling both publish application notes on vial selection for specific methods. Read those before you lock in a septum for a regulated method.
When to accept evaporation and correct for it instead of fighting it
Sometimes the seal cannot fully prevent evaporation. A heated tray at 60 °C with a volatile solvent will lose mass no matter what septum you use. In that case, you have two options. Reduce the dwell time by injecting sooner, or correct for the loss. Correction works if the loss is consistent across all vials. Weigh the vials before and after the run, calculate the mean loss, and apply a correction factor to the analyte concentrations. This is not ideal. It adds uncertainty. But it is better than ignoring the loss and reporting biased data.
The correction factor is simple. If the mean mass loss is 2.0 mg on a 1000 mg sample, the concentration increased by 0.2%. Divide the reported concentration by 1.002. This assumes the analyte does not evaporate with the solvent. For non-volatile analytes, that assumption holds. For semi-volatile analytes, it does not. Test the assumption before you rely on the correction.
For labs that run high-throughput methods, Lab Vials at labvials.com and similar sources offer pre-assembled cap and septum combinations with specified torque ranges. Pre-assembled caps reduce the capping variability. But they do not eliminate the need to verify. I have seen pre-assembled caps that were under-torqued at the factory, and the entire lot leaked. Weigh a sample of vials from every new lot before you put them into a method.
For technical guidance on septum materials and their solvent compatibility, Restek technical resources for chromatography has one of the better libraries. Their septum selection charts list the solvents each material is rated for. Use that as a cross-check against the supplier’s claims.
The decision rule is this: measure the mass loss for your exact solvent, temperature, needle gauge, and injection count. If the loss is below 0.5 mg/day at room temperature or below 2 mg/day at 40 °C, the seal is adequate for most quantitative methods. If it is above that, change one variable at a time. Start with torque, then septum thickness, then material. Document the before and after weights. A seal problem that you cannot quantify is a seal problem you cannot fix.
References & further reading
Related resources from our lab consumables network:
- Hplc Vial at vialforhplc.com
- Chromatography Consumables at chromatographyconsumables.com
- Lab Vials at labvials.com
- Aijiren Brand at aijirenvials.com
External references and standards: