
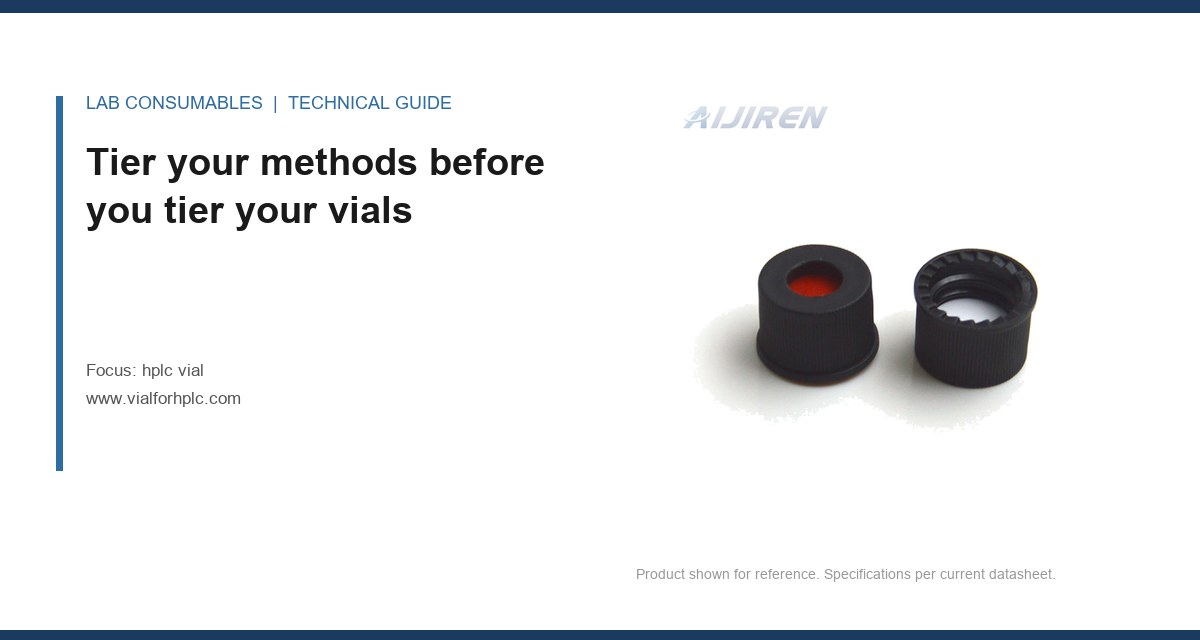
A 9 mm screw thread on a 2 mL vial reaches its rated seal at 0.9 to 1.1 N·m of torque, and at 1.4 N·m the PTFE-faced silicone septum starts to extrude into the neck bore. I have watched a lab run at 1.5 N·m for six weeks on a cheap torque driver and lose an entire sequence of 96 injections to a single extruded septum that shed a sliver into the needle path at injection 61. The vials cost $0.11 each. The rerun, the standards, the instrument time, and the analyst’s afternoon cost $2,400. That ratio, roughly 22,000 to 1, is the whole argument for tiering your vial spend by method criticality. The question is not whether a low-cost HPLC vial is safe. It is whether a low-cost HPLC vial is safe for this method, and the answer depends on what a failure costs you when it happens.
Most labs buy one vial SKU for everything and then wonder why the release testing group and the formulation screening group have different opinions about it. They are running methods with wildly different failure economics on the same consumable. I stopped doing that years ago. I now classify every method into one of three tiers and let the tier, not the purchasing department’s quarterly target, set the vial spec.
Tier 1: release, stability, and regulatory submission work
This is where a single out-of-specification (OOS) result triggers a formal investigation under EPA SW-846 or the applicable compendial chapter, a deviation report, and possibly a batch hold. A false OOS from a vial extractable can cost a week of production. A false pass is worse. In Tier 1 the vial is part of the validated method under USP <621>, and you cannot substitute a different glass lot, septum polymer, or crimp dimension without re-verifying. Here the correct choice is a fully characterized vial with a lot-specific certificate, a defined hydrolytic class (Type I borosilicate, USP <660>), and a septum whose extractables profile has been tested against your mobile phase. Paying $0.28 instead of $0.11 is not a cost. It is insurance priced at 17 cents.
Tier 2: in-process checks, method development, and stability screening
Here a failure costs you a repeat injection, not a deviation. The method is not yet validated, the sample is not yet a batch, and a rerun is annoying but bounded. This tier can absorb a mid-grade vial: Type I glass, a silicone/PTFE septum, but a commercial-grade certificate of analysis rather than a lot-specific extractables study. You still want dimensional consistency, because a vial that sits 0.4 mm too tall will jam the autosampler tray regardless of how cheap it was.
Tier 3: high-throughput screening, combinatorial work, and non-critical QC
This is where the cheap vial earns its place. If you are running 2,000 samples a week through a generic reverse-phase screen and half of them get discarded before anyone looks at the data, a $0.09 vial is correct. The failure cost is close to zero because the sample itself has no value beyond the information it carries, and the information is robust to a single lost injection. Here I will happily buy the budget SKU, provided it passes a dimensional spot check on receipt.
| Method tier | Typical failure cost | Vial spec floor | Septum | Certificate | Target unit price |
|---|---|---|---|---|---|
| Tier 1 (release/stability) | $1,500 to $15,000 per event | Type I borosilicate, lot-verified dimensions, ±0.1 mm neck ID | PTFE/silicone, 1.0 mm, tested extractables | Lot-specific CoA + extractables | $0.22 to $0.35 |
| Tier 2 (development/IPC) | $150 to $1,500 per event | Type I borosilicate, commercial tolerance | PTFE/silicone, 1.0 mm | Commercial CoA | $0.12 to $0.20 |
| Tier 3 (screening) | < $150 per event | Type I or II, dimensional spot check on receipt | Silicone/PTFE or butyl, 1.0 mm | None required | $0.07 to $0.11 |
What the failure actually costs, line by line
Procurement spreadsheets compare unit price. They should compare unit price plus expected failure cost per thousand injections. I build that number from four components, and the arithmetic is not subtle.
- Instrument downtime. A coring event that clogs the needle or the injection port liner costs 30 to 90 minutes of instrument time plus the analyst’s time to diagnose it. At a fully loaded autosampler rate of $60 to $120 per hour, that is $30 to $180 per event before you rerun anything.
- Sample loss. If the sample is irreplaceable (a stability timepoint pulled at 24 months, a single-use bioreactor aliquot), a lost injection can mean a lost data point and a protocol deviation. That can run into thousands.
- Rerun cost. Standards, mobile phase, column time, and the queue delay for everything behind it.
- Investigation cost. In Tier 1, an OOS opens a formal investigation. Even a false alarm consumes a quality reviewer for a day.
Run the numbers on a Tier 1 method at 400 injections per week. A cheap vial that fails once per 2,000 injections gives you roughly 10 failure events per year. At a conservative $2,000 per event, that is $20,000 a year. The premium for the characterized vial, at 400 injections per week, is about $3,500 a year. The cheap vial is the expensive one by a factor of nearly six. This is the false economy in one sentence.
Where a cheap vial is genuinely the right call
I want to be clear that I am not arguing for premium vials everywhere. That is its own waste. There are three conditions under which the budget SKU is correct, and I apply them without guilt.
When the sample is disposable and the data is coarse
If you are running a qualitative screen, a presence/absence assay, or a plate-based high-throughput read, a single lost well does not change the conclusion. The cheap vial wins on pure arithmetic. Just confirm the neck bore is within tolerance on receipt, because a budget lot with a 6.4 mm neck instead of 6.0 mm will still seat a 9 mm screw cap but will leak on a tilted autosampler tray.
When the method has no extractables sensitivity
Some methods simply do not care about a few parts-per-billion of silicone oligomer or a trace of sodium from the glass. A high-concentration assay read at 280 nm on a 1 mg/mL sample will not see what a trace-level LC-MS/MS method at 0.1 ng/mL will see. If your limit of detection is generous, the extractables floor of a budget vial is irrelevant. If you are running trace analysis, it is everything. The septum polymer, not the glass, is usually the variable that matters, and a budget vial with a well-chosen PTFE-faced septum can outperform a premium vial with the wrong one.
When consumption is high enough to justify incoming inspection
At 5,000 vials a week, it becomes economic to run your own dimensional and extractables spot check on each lot. Once you have that capability, the budget SKU is fine because you are supplying the quality control the vendor did not. Below that volume, you cannot afford the inspection, and you should buy the certificate instead.
Field case: the drift that looked like a column problem
A contract lab running a Tier 2 stability screen called me about a retention time drift of 0.04 minutes per injection across a 60-injection sequence, with a rising baseline at 210 nm. Their first instinct was the column. They replaced it twice. The drift persisted. I asked them to run a blank injection sequence with mobile phase only, using the same vial lot. The drift reproduced. That ruled out the sample and pointed at the vial.
The measurement that identified it was a simple extractables test: 20 vials from the lot filled with 1.5 mL of the actual mobile phase (water/acetonitrile 60:40 with 0.1% formic acid), capped, and held at 40 °C for 24 hours, then injected against a fresh mobile phase blank. The chromatogram showed a broad hump at 6.8 minutes that grew with hold time. The septum was the source: a low-cost silicone with a thin PTFE facing that had pinholes. The mobile phase was reaching the silicone and leaching oligomers. The fix was a switch to a 1.0 mm PTFE/silicone septum from a lot with a tested extractables profile, and the drift disappeared. The lesson: a vial problem can masquerade as a column problem, and the blank-in-vial test is the cheapest way to tell them apart.
Field case: the coring count that ended a purchasing decision
A pharmaceutical QC group moved a Tier 1 release method to a budget vial to hit a cost target. Within three weeks they had two OOS results and a needle that had bent at the bevel. I asked them to run a puncture test: a single septum punctured 50 times with a 22-gauge needle at the autosampler’s actual penetration depth, then inspected under 10x magnification. The budget septum showed visible coring after 12 punctures. A properly specified PTFE/silicone septum from a characterized lot showed no visible coring at 50. The autosampler was set to a penetration depth of 8.5 mm, which was 1.5 mm deeper than the septum thickness plus the neck clearance required, so every injection was driving the needle through the septum and into the neck shoulder. The fix was two-part: reset the penetration depth to 7.0 mm, and return to the characterized vial. The cost delta was $0.14 per vial. The two OOS investigations cost an estimated $18,000. The budget vial was not cheap. It was expensive with a low sticker price.
The selection criteria that actually predict failure
When you are deciding between a budget and a premium vial for a given method, these are the parameters that separate them. I check them in this order.
- Glass class and hydrolytic resistance. Type I borosilicate (USP <660>) is the floor for any method with a pH above 7 or below 4, or any method sensitive to sodium or boron. Budget vials are sometimes Type II soda-lime, which leaches alkali at the surface. If your method runs at pH 9, Type II is a false economy regardless of tier.
- Neck bore and thread form. A 9 mm screw thread to the GPI 9-425 standard should hold a neck ID of 6.0 mm ±0.1 mm. Budget lots drift to 6.2 or 6.3 mm, which still seals but changes the headspace and the septum compression. Ask for the dimensional report, not the catalog nominal.
- Septum thickness and durometer. A 1.0 mm PTFE/silicone septum at 45 to 55 Shore A is the workhorse. Thinner septa (0.8 mm) core more easily at high puncture counts. Thicker septa (1.3 mm) raise the penetration force and can lift the vial in the tray.
- Puncture rating. A characterized septum should hold 50 punctures without visible coring at the method’s actual needle gauge and depth. Budget septa often fail at 10 to 15. If your autosampler reuses a septum for a multi-injection sequence, this is the number that matters.
- Torque window. The cap should seal at 0.9 to 1.1 N·m and not extrude the septum below 1.3 N·m. If your capper is not calibrated, you are guessing. Calibrate it quarterly.
- Extractables profile. For trace work, ask for the extractables study against a representative mobile phase, not water. Water extractables tell you almost nothing about what a 60:40 organic mobile phase will pull out of a silicone septum.
If you need a reference for what a characterized consumable looks like on paper, the major vendors publish this data. Agilent’s consumables documentation and Thermo Fisher’s sample handling specs both show the level of dimensional and extractables detail a Tier 1 method should demand. Restek’s technical resources are also useful for septa selection by application. If your budget vendor cannot match that level of documentation, they are not a Tier 1 supplier.
The incoming check that makes a budget vial safe
If you decide to use a budget vial in Tier 2 or 3, you can close most of the risk with a 20-minute incoming check on each lot. I do this on every budget lot and it has caught three bad shipments in two years.
- Dimensional spot check. Measure 10 vials per lot for height, neck ID, and thread form against the drawing. A caliper and a thread gauge are enough. Reject the lot if more than one vial is out of tolerance.
- Seal test. Fill 10 vials with the actual mobile phase, cap at 1.0 N·m, invert, and hold for 30 minutes. Any weeping at the cap is a reject.
- Blank injection. Inject mobile phase from three vials held at your method’s autosampler temperature for the full sequence length. Compare against a fresh blank. Any peak above your method’s reporting limit is a flag.
- Puncture test. Puncture one septum 50 times at the method’s needle depth and inspect. Visible coring means the septum is not rated for your sequence length.
This check costs about $40 in analyst time per lot. At 5,000 vials a week, it is trivial. At 200 vials a week, it is not worth it, and you should buy the certificate instead. That is the break-even point on the inspection decision.
The decision rule
Match the vial tier to the method tier, not to the purchasing target. For any method where a single failed injection triggers an investigation, a deviation, or a lost irreplaceable sample, buy the characterized vial with a lot-specific extractables certificate and a documented puncture rating, and calibrate your capper to 1.0 N·m. For methods where a rerun is the only consequence, a mid-grade vial with a PTFE/silicone septum is correct. For screening work where the sample is disposable, the budget SKU is the right answer, provided you run the 20-minute incoming check. The false economy is not the cheap vial. It is the cheap vial in the wrong tier. If you want to see the full range of what is available at each tier, the HPLC vial catalog is a reasonable starting point, and the broader chromatography consumables and lab vials ranges give you the dimensional and septum options to match each method tier. For a vendor that publishes lot-level documentation, the Aijiren line is worth a look. The rule is simple: pay for the certificate when the failure cost exceeds the certificate cost by an order of magnitude, and buy the cheap vial only when you can afford to lose the injection.
References & further reading
Related resources from our lab consumables network:
- Hplc Vial at vialforhplc.com
- Chromatography Consumables at chromatographyconsumables.com
- Lab Vials at labvials.com
- Aijiren Brand at aijirenvials.com
External references and standards: