
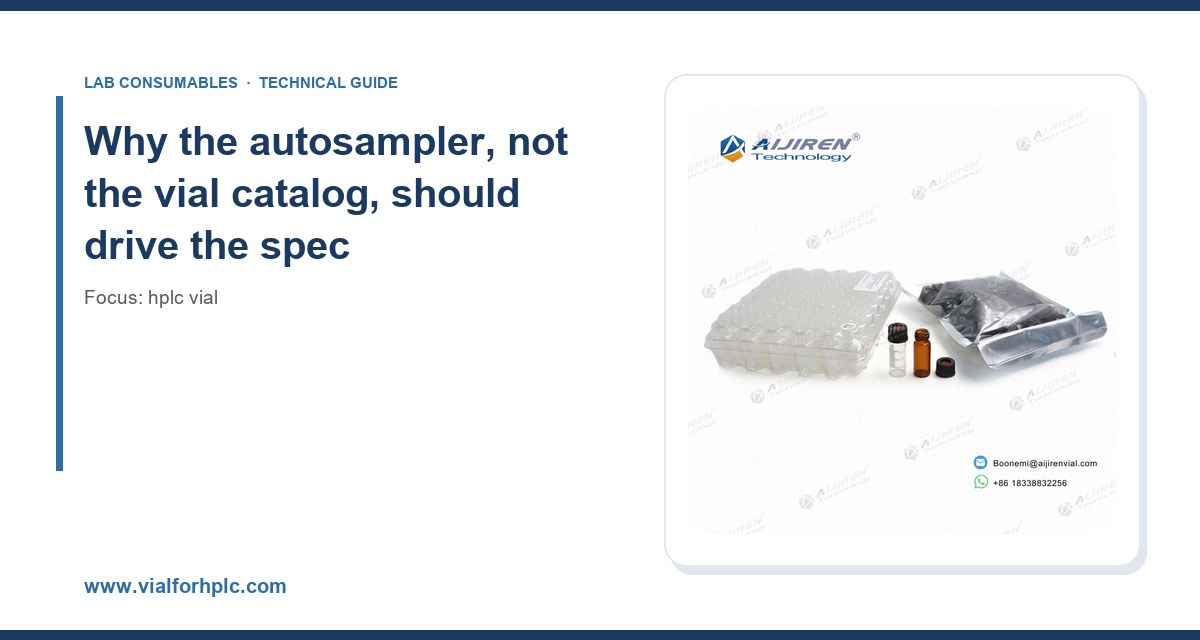
I have watched a lab burn three weeks of instrument time because someone ordered the wrong vial. The autosampler was a newer model with a 6 mm stroke, the vials were 12 x 32 mm with a 1 mm wall, and the needle was bottoming out on glass instead of reaching the 150 µL the method called for. The chromatograms looked fine. The recoveries were 20% low. Nobody noticed until an audit. That is the thing about vial dimensions: they are boring right up until they quietly ruin your data.
This guide is about matching the physical envelope of an HPLC vial to the autosampler or inlet it will actually sit in. Not the septum chemistry, not the cap material, not the insert story. Those are separate problems. This is about millimeters, degrees, and the mechanical geometry of the tray, the needle, and the gripper. Get those wrong and no amount of method development will save you.
Vendors publish vial dimensions in a way that suggests there is one standard. There is not. The 12 x 32 mm format is a de facto convention, but the tolerances around it vary enough to matter, and the autosampler manufacturers each publish their own preferred geometry. When I specify a vial now, I work backward from the instrument. The instrument defines three things: the maximum body diameter the tray or gripper will accept, the maximum height under the needle guide or septum-piercing mechanism, and the needle travel available above the bottom of the well.
Those three numbers are not always in the same document. On some platforms, the tray pitch (center-to-center spacing of the vial wells) is the binding constraint, not the vial diameter itself. A 12 mm body in a tray with 13 mm pitch leaves 1 mm of clearance, and if the gripper has any lateral play, you get jams. I have seen labs run 12 x 32 mm vials in a tray designed for 11.6 mm bodies and wonder why the robot drops one vial in fifty.
The practical rule: pull the autosampler’s consumables and accessories documentation before you pull the vial catalog. Agilent publishes vial compatibility tables for each autosampler generation in their chromatography consumables and columns resources, and Thermo Fisher does the same across their chromatography and sample handling lineup. Read those first.
The dimensional numbers that actually matter
Here is the working set of dimensions for a standard 12 x 32 mm screw-thread vial, with the tolerances I would accept in a procurement spec. If a supplier cannot give you these in writing, that is your first red flag.
- Body diameter: 12.00 mm nominal, tolerance ±0.15 mm. Anything over 12.2 mm risks tray interference on tight-pitch carousels.
- Overall height (body only): 32.00 mm nominal, tolerance ±0.25 mm. With a screw cap fitted, expect 32.5 to 33.0 mm overall.
- Neck OD (screw thread): 9.0 mm nominal (the “9 mm screw” designation), thread form per the GPI 9 mm finish.
- Neck ID: 6.0 mm nominal. This is what limits your needle and insert choices.
- Internal volume: 1.5 mL to the shoulder, roughly 1.8 mL total.
- Bottom geometry: flat or slightly concave, with a residual volume of 100 to 200 µL for a standard vial, less for a conical or pulled-point design.
The neck ID is the number people skip. A 6.0 mm neck with a 0.5 mm wall means the widest insert you can drop in is about 5.0 mm, and that assumes the insert is seated properly. If you are using a 250 µL micro insert, the insert OD is typically 5.0 to 5.7 mm, and it will only fit in a vial whose neck ID is generous. This is why some vial and insert combinations rattle and others seat with a satisfying click. The HPLC vial selection on our site lists neck ID alongside body diameter for exactly this reason.
Crimp vs. screw vs. snap: the height penalty
Crimp-top vials use an 11 mm aluminum seal, and the crimped height adds roughly 1.5 mm above the glass rim. Screw caps add 1.0 to 1.5 mm depending on cap thickness. Snap caps add about 1.0 mm. On most modern autosamplers this is inside the clearance envelope, but on older injectors with a fixed needle guide, a crimped vial can be 0.5 mm too tall. I have seen this on legacy GC inlets more than HPLC, but it happens.
If you are running a platform where the septum is pierced at a fixed depth, the cap height directly changes how far the needle enters the vial. A cap that sits 0.5 mm higher shifts your needle tip 0.5 mm up. On a 1.5 mL vial with a 150 µL draw, that is the difference between a clean draw and a needle in the headspace.
Matching to specific autosampler families
I will not pretend to cover every platform, but the patterns repeat. Here is how I think about the major families.
Agilent 1100, 1200, and 1260 series
These use a 100-vial tray with a standard 12 x 32 mm envelope and a needle that travels to a programmable depth. The key number is the bottom-sensing routine: the autosampler does not sense the bottom, so you set the draw depth in the method. Set it too deep and you hit glass. Set it too shallow and you leave sample behind. The safe rule is to program the needle tip to sit 1 to 2 mm above the vial bottom, which on a flat-bottom vial leaves you drawing from the 100 to 200 µL residual pool. If your method needs less than that, you need a conical vial or an insert, not a deeper needle setting.
The 1260 Infinity II autosampler accepts the same 12 x 32 mm format but with tighter tray tolerances. The 12.00 ±0.15 mm body spec matters more here than on the older 1100.
Thermo Fisher autosamplers (UltiMate, Vanquish, and the AS-AP)
Thermo platforms vary more across generations. The Vanquish autosampler uses a vial tray with a specific well depth, and the needle guide is closer to the vial rim than on Agilent platforms. That means cap height matters more. A cap that is 0.3 mm taller than the reference can cause the needle guide to contact the cap before the needle reaches the septum, which shows up as a “vial not detected” or a bent needle over time. The Thermo consumables documentation specifies the reference cap dimensions; match them.
Waters Alliance and ACQUITY
The Alliance uses a carousel with a 12 x 32 mm format and is generally tolerant. The ACQUITY sample manager is less tolerant of body diameter variation because of the gripper design. I have seen 12.2 mm vials bind in an ACQUITY tray. If you are running ACQUITY, spec 12.00 ±0.10 mm and verify with calipers on the incoming lot.
Shimadzu SIL series
Shimadzu autosamplers are common in pharma QC labs and use the 12 x 32 mm format with a needle that can be set to a fixed depth or a bottom-sensing mode depending on model. The SIL-20 and SIL-30 series have a rack that accepts both 1.5 mL and 4 mL vials, so the tray geometry is more forgiving, but the needle depth setting is not.
A decision checklist you can hand to procurement
This is the checklist I use. It is deliberately mechanical. Fill in the right column from your instrument documentation, then match the vial spec to it.
- Maximum body diameter accepted by tray or gripper: ____ mm (typically 12.0 to 12.3 mm)
- Maximum overall height under the needle guide: ____ mm (typically 32.5 to 33.5 mm with cap)
- Neck ID required for your insert or needle gauge: ____ mm (6.0 mm standard; 5.0 mm for some micro-inserts)
- Needle gauge in use: ____ (22 ga = 0.72 mm OD; 26 ga = 0.46 mm OD)
- Minimum draw volume per injection: ____ µL (this drives residual volume and insert choice)
- Maximum autosampler temperature: ____ °C (check cap and septum rating)
- Septum puncture count per vial: ____ (single injection vs. multi-injection from one vial)
- Cap torque specification: ____ in-oz (typically 8 to 12 in-oz for 9 mm screw caps)
- GPI finish reference: GPI 9 mm (verify supplier states this)
If you cannot fill in the first three rows, stop. You are not ready to order. The rest are secondary but each one has a failure mode attached.
Needle gauge, draw depth, and the residual volume problem
The needle gauge sets a hard floor on how low you can draw. A 22-gauge needle (0.72 mm OD) needs about 0.4 mm of clearance above the glass to avoid contact, and any lateral deflection from a slightly off-center septum puncture can close that gap. A 26-gauge needle (0.46 mm OD) is more forgiving on clearance but more prone to bending if the vial is off-center in the tray.
Here is the number that catches people: on a flat-bottom 1.5 mL vial, the residual volume after a 150 µL draw is typically 100 to 150 µL. If your method needs a 50 µL draw, you are fine. If it needs a 20 µL draw, you are drawing from a film, and the RSD will show it. I have measured RSDs of 8 to 12% on 20 µL draws from flat-bottom vials versus 1.5 to 2.5% from conical vials or inserts. That is not a method problem. That is a geometry problem.
The fix is a conical vial or a 250 µL insert with a pulled point. The insert OD must fit the 6.0 mm neck, so you are looking at 5.0 to 5.7 mm inserts. The insert depth must match the vial depth so the insert tip sits within 1 mm of the vial bottom. If the insert floats, you lose the benefit. This is where the lab vials catalog is useful, because it lists insert OD and depth alongside the vial spec.
Temperature ratings and the cap that fails at 40 °C
Autosampler trays run at 4 °C to 40 °C on most platforms, and some run higher for method development. The vial glass is fine at all of these. The cap and septum are not always.
Silicone septa are rated to about 200 °C but have poor re-seal after puncture. PTFE-faced silicone septa are rated to 200 °C and re-seal better. Butyl septa are rated to about 100 °C and are the default for many pharma methods. The failure mode I see most is not temperature degradation; it is the septum softening enough at 40 °C that the needle coring rate goes up. A septum that cores cleanly at 25 °C can shed particles at 40 °C after 20 punctures.
If your autosampler runs warm, spec a PTFE-faced septum and cap the puncture count at 10 to 15 per vial. I know labs that run 50 injections from one vial to save on consumables. They also replace needles more often and chase ghost peaks. The math does not favor the savings.
Torque, crimping, and the seal that leaks at 9 in-oz
For 9 mm screw caps, the torque spec is 8 to 12 in-oz. Below 8 in-oz, the seal is incomplete and you get evaporation over a 24-hour run. Above 12 in-oz, you deform the cap and the septum, and the needle path gets off-center. I have seen a lab torque to 15 in-oz “to be safe” and then wonder why the autosampler needle bent on every tenth vial. The cap had deformed enough to shift the septum center by 0.3 mm.
For crimp caps, the crimper setting matters more than torque. A proper crimp leaves the aluminum seal rolled under the vial finish with no gap and no crushing of the glass neck. The GPI 9 mm finish is designed for this. If your crimper is set too loose, the seal lifts under vacuum; too tight, and you crack the neck. Both show up as leaks, not as visible damage.
If you are buying pre-capped vials, ask the supplier for the crimp or torque spec they use. Aijiren, whose Aijiren brand vials we stock, publishes crimp dimensions that match the GPI 9 mm finish. That is the kind of thing you want in writing.
Septum puncture counts: the number nobody tracks
A silicone septum is good for 20 to 30 punctures before coring becomes measurable. A PTFE-faced silicone septum is good for 30 to 50. A butyl septum is good for 10 to 20. These are not vendor marketing numbers; they are the counts at which I start seeing particles in the vial and ghost peaks in the blank.
The problem is that most labs do not track punctures per vial. They track injections per vial, which is the same number only if every injection uses the same needle and the same depth. If you change methods mid-run, the count is meaningless. I recommend a simple log: vial ID, date, puncture count, and a blank injection every 10 punctures. When the blank shows a peak at the retention time of your analyte, retire the vial.
This is also where the septum choice interacts with the autosampler. A needle that is slightly off-center punctures the same spot every time and cores faster. A needle that wanders punctures fresh septum each time and lasts longer but risks hitting the neck. The geometry of the vial neck and the tray alignment determine which you get.
Troubleshooting checklist for dimension-related failures
When an autosampler misbehaves and the method is not the obvious culprit, run this list in order. I have used it on more service calls than I can count.
- Vial jam or “vial not detected”: measure body diameter on 10 vials from the lot with calipers. If any exceed 12.2 mm, reject the lot. Check tray pitch against vial diameter.
- Bent or blunted needles: check draw depth setting against vial bottom. Program 1 to 2 mm above bottom. Check cap height against reference. Check septum coring.
- Low recovery on small-volume draws: check residual volume. If draw is under 50 µL, switch to conical vial or insert. Measure RSD on 6 replicates.
- Evaporation over long runs: check cap torque (8 to 12 in-oz) and septum type. Weigh 10 vials before and after a 24-hour run at tray temperature; more than 2 mg loss is a seal problem.
- Ghost peaks at the analyte retention time: check septum puncture count. Replace septum or vial. Run a blank.
- Intermittent “no sample” errors: check insert seating. If the insert floats, the needle draws air. Verify insert OD against neck ID.
- Needle guide contact with cap: compare cap height to the instrument reference. A 0.3 mm difference is enough to cause contact on tight-guide platforms.
For method-specific acceptance criteria, the U.S. EPA SW-846 test methods are a useful reference for what “acceptable” looks like in a regulated context, and Restek technical resources have practical guidance on vial and septum selection that aligns with what I have seen on the bench.
What I recommend, concretely
For a standard reverse-phase HPLC method on a modern autosampler with a 100 µL or larger draw, use a 12 x 32 mm, 9 mm screw-thread vial with a PTFE-faced silicone septum and a 12.00 ±0.15 mm body diameter. Torque the cap to 10 in-oz. Program the needle to 1.5 mm above the vial bottom. Cap the vial at 20 punctures. This combination has the fewest failure modes across the platforms I have worked on.
For draws under 50 µL, use a conical vial or a 250 µL insert with a 5.0 to 5.7 mm OD, seated so the tip is within 1 mm of the vial bottom. Verify insert seating by inverting the capped vial and checking that the insert does not move. Run 6 replicates and confirm RSD under 3% before you commit the method.
For warm autosamplers (above 35 °C), spec a PTFE-faced septum and reduce the puncture cap to 10. Weigh-test 10 vials over a 24-hour run; if you lose more than 2 mg per vial, the seal is not holding.
For crimp-top platforms, verify the crimper against the GPI 9 mm finish and check the crimp height against the instrument reference. Do not assume a crimp that looks tight is tight.
And for any new lot of vials, measure 10 with calipers before you load the tray. Body diameter, overall height, and neck ID. It takes five minutes and it has saved me more than one audit finding. The chromatography consumables supply chain is good enough that most lots are fine, but “most” is not a spec.
The takeaway is simple: the vial is a mechanical component in a mechanical system, and the autosampler is the system that defines the spec. Match the body diameter to the tray, the height to the needle guide, the neck ID to the insert, the septum to the temperature and puncture count, and the torque to the cap finish. Do that, and the vial stops being a variable. Skip it, and you will spend three weeks wondering why the recoveries are low.
References & further reading
Related resources from our lab consumables network:
- Hplc Vial at vialforhplc.com
- Chromatography Consumables at chromatographyconsumables.com
- Lab Vials at labvials.com
- Aijiren Brand at aijirenvials.com
External references and standards: