
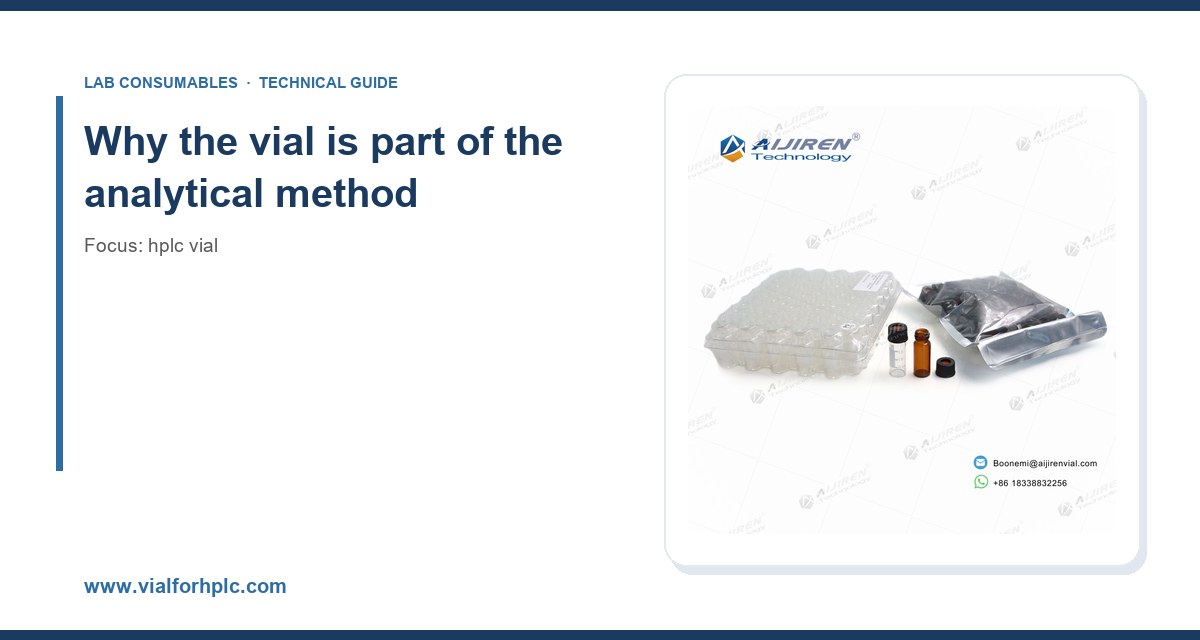
I have watched a 96-well plate of autosampler vials get rejected at 2 a.m. because someone bought 32 × 11.6 mm vials with the wrong neck finish and the robotic gripper kept dropping them. That single mismatch cost a full night of sample prep. Choosing an HPLC vial looks trivial until it isn’t, and the details that bite you are dimensional, chemical, and procedural, not aesthetic.
This guide is written for the person who signs the purchase order and the analyst who loads the tray. It covers what actually matters when selecting vials for HPLC, UHPLC, LC-MS, and fraction collection workflows: geometry, glass chemistry, septa, caps, cleanliness, and the operational habits that keep your chromatography reproducible.
The vial is the first component in the sample path. It contacts the sample, holds it for hours or days, and interfaces mechanically with the autosampler. A vial that leaches, adsorbs, or fails to seat correctly becomes a source of error that is difficult to trace because it looks like an injection problem, a column problem, or a detector problem.
Three failure modes dominate field complaints:
- Geometric incompatibility. Wrong height, diameter, or neck finish prevents proper needle penetration or gripper handling. This is common when mixing brands of vials and caps.
- Chemical interference. Extractables from septum or cap liner, or leaching from low-quality glass, appear as ghost peaks, elevated baselines, or ion suppression in LC-MS.
- Evaporation and adsorption. Poor sealing or excessive headspace changes concentration, particularly with volatile solvents and low-volume samples.
If you treat the vial as a consumable afterthought, you will spend more time troubleshooting than you save on unit price. A systematic selection process pays for itself quickly.
Understand the standard formats before you buy
Most HPLC autosamplers accept one of four common formats. Confirm your instrument’s tray and gripper specifications before ordering, because “standard” is not universal.
2 mL (12 × 32 mm) vials
The workhorse format for HPLC and LC-MS autosamplers. Nominal dimensions are 12 mm outside diameter × 32 mm height with a 6 mm neck and either a crimp or screw-thread finish. Screw-thread 2 mL vials typically use a 9 mm screw cap, while crimp versions use an 11 mm crimp seal. Confirm the exact neck finish: 9 mm screw threads are not interchangeable with 8-425 or 10-425 threads.
Wide-mouth and short vials
Wide-mouth 2 mL vials (often 12 × 32 mm with a larger opening) reduce needle bending and make pipetting easier. Short vials (typically 12 × 32 mm but with reduced internal depth) are useful for robotic workstations with limited Z-travel. Always check the instrument’s maximum vial height and the autosampler’s needle depth setting.
Microvolume and deactivated inserts
For sample volumes below about 150 µL, use a 150 µL or 250 µL glass insert inside a standard 2 mL vial. Inserts are available with pulled points, conical bottoms, or fused-in polymer feet. A pulled-point insert can leave as little as 5–10 µL of recoverable liquid, but the needle must reach the point without hitting glass. Set the needle depth carefully and verify with a dummy injection.
LC-MS and high-recovery formats
LC-MS workflows often use vials with low-adsorption surface treatment and caps with silicone-free or PTFE-lined septa. Some labs use polypropylene vials for trace-metal work, but confirm solvent compatibility because polypropylene can swell or permeate with certain solvents. For high-recovery needs, consider silanized glass or specialized low-binding surfaces.
If you are standardizing across multiple instruments, a broad catalog of HPLC vial formats helps you match each autosampler without introducing a second supplier.
Glass chemistry: Type I, Type II, and what it means for your analytes
Most HPLC vials are made from borosilicate glass, but not all borosilicate is equal. The relevant standard is USP <660> and ISO 3585 for borosilicate 3.3. Type I borosilicate glass has a low alkali release and is the default for analytical work.
Type I borosilicate (expansion 3.3)
This is the correct choice for most HPLC and LC-MS applications. It resists hydrolysis and has low extractables. For sensitive analytes, specify Type I, Class A glass and request a certificate of analysis with extractables data where available.
Type II and Type III glass
Type II is treated soda-lime glass; Type III is untreated soda-lime. Both can release alkali into aqueous samples, shifting pH and sometimes causing adsorption of acidic compounds. Avoid them for trace analysis, ion chromatography, or any method with a pH-sensitive analyte.
Amber vs. clear glass
Use amber glass for photosensitive compounds such as vitamins, some antibiotics, and certain pesticides. Amber glass is usually Type I borosilicate with a colorant. Verify that the colorant does not introduce extractables; reputable suppliers provide this data. Clear glass is preferred when you need to inspect the sample for particulates or phase separation.
For regulated work, keep glass documentation on file. A supplier that cannot provide glass type, lot traceability, and dimensional tolerances is a risk you do not need.
Septa and caps: the most common source of ghost peaks
The septum is where many mysterious peaks originate. Septa are pierced repeatedly by the autosampler needle, and each puncture creates a path for solvent loss and a potential source of particles. The cap liner also contacts the sample vapor and can contribute extractables.
Septum materials
- Silicone (often silicone/PTFE-faced). Good resealing and puncture resistance, but silicone can leach low-molecular-weight siloxanes. Use PTFE-faced silicone for HPLC; bare silicone is risky for LC-MS.
- PTFE-faced silicone. The PTFE face reduces extractables and chemical attack. This is the default for most reversed-phase HPLC. Expect 50–100 punctures before reseal performance degrades, depending on needle gauge and septum thickness.
- PTFE/silicone laminated. Combines chemical inertness with resealing. Suitable for LC-MS and sensitive methods.
- Butyl and EPDM. Used for specific applications, but generally higher extractables for HPLC. Confirm compatibility before use.
Puncture counts and needle gauge
A septum rated for 100 punctures is not a guarantee. Needle gauge matters: a 22-gauge needle creates a larger hole than a 26-gauge needle. If your autosampler uses a large-bore needle, derate the puncture count. Practical guidance: replace septa after 50–75 punctures for critical methods, and never reuse a cap across multiple sample batches without inspection.
Cap torque and sealing
Screw caps need consistent torque. Under-torque causes evaporation; over-torque deforms the septum and can crack the cap. For 9 mm screw caps, a practical target is 0.8–1.2 N·m (roughly 7–10 in-lb), applied with a torque wrench or a calibrated capping tool. Crimp caps require a crimper set to the correct jaw gap; verify with a go/no-go gauge. A poorly crimped seal leaks, and the leak is invisible until your internal standard drifts.
For workflows that require traceable components, source caps and septa from a supplier that publishes material specifications and lot data. The Chromatography Consumables catalog is a useful reference for matching caps, septa, and inserts to specific autosampler models.
Cleanliness, packaging, and contamination control
Vial cleanliness is a specification, not a marketing claim. Residue from manufacturing, cardboard dust, and packaging fibers can all appear as peaks. For trace analysis, specify vials that are cleaned and packed in a controlled environment.
What to ask for
- Class 10,000 (ISO 7) or better packaging for trace and LC-MS work.
- Certificates of analysis covering extractables, dimensional conformance, and glass type.
- Lot traceability so you can correlate a contamination event with a specific shipment.
- Double-bagged packaging to reduce particulates during opening.
Handling precautions
Wear powder-free gloves. Do not touch the inside of caps or septa. Open packaging in a clean area and reseal promptly. If you are working at trace levels, pre-rinse vials with your mobile phase or a suitable solvent and dry under nitrogen. Never use compressed air from a general lab line to dry vials; it introduces oil and particles.
For labs handling many vial types, a consistent source of Lab Vials reduces variability and simplifies incoming inspection.
Selection criteria with numbers
Use the following checklist to narrow your choice. The numbers are practical starting points; confirm against your instrument manual and method requirements.
Decision checklist
- Format: 2 mL (12 × 32 mm) for most autosamplers; microvolume inserts for <150 µL samples.
- Neck finish: 9 mm screw thread or 11 mm crimp; confirm against autosampler spec. Do not mix 8-425 and 9 mm components.
- Glass type: Type I borosilicate 3.3 for analytical work; amber for photosensitive analytes.
- Septa: PTFE-faced silicone for HPLC; PTFE/silicone laminate for LC-MS; replace after 50–75 punctures.
- Cap torque: 0.8–1.2 N·m for 9 mm screw caps; verify crimp jaw gap with a gauge.
- Cleanliness: ISO 7 packaging and COA for trace work; pre-rinse if needed.
- Temperature: Standard vials are rated for autosampler trays at 4–40 °C; for heated trays or derivatization, confirm the cap and septum temperature rating (often up to 80–100 °C for short exposures).
- Chemical compatibility: Confirm resistance to your solvent; avoid polypropylene for aggressive solvents unless validated.
Comparison table: common formats
The table below summarizes typical parameters. Treat these as nominal values and verify with your supplier and instrument documentation.
- Standard 2 mL screw vial: 12 × 32 mm, 9 mm thread, Type I glass, PTFE/silicone septum, ~100 µL residual volume, 50–100 punctures.
- Standard 2 mL crimp vial: 12 × 32 mm, 11 mm crimp, Type I glass, PTFE/silicone septum, ~100 µL residual, 50–100 punctures.
- Wide-mouth 2 mL: 12 × 32 mm, larger opening, 9 mm thread, easier pipetting, similar residual volume.
- Microvolume insert: 150–250 µL capacity, pulled point, 5–10 µL recoverable, requires precise needle depth.
- LC-MS vial: 12 × 32 mm, low-extractable septum, ISO 7 packaging, validated for ion suppression.
Operational precautions that prevent rework
Even the right vial can fail if handled poorly. These habits come from years of fixing avoidable problems.
Fill volume and headspace
Do not overfill. Leave 10–20% headspace to allow for thermal expansion and to prevent the needle from contacting liquid during aspiration. Underfilling increases evaporation risk. For 2 mL vials, a typical working volume is 0.5–1.5 mL.
Needle depth and autosampler settings
Set needle depth so the tip sits 1–2 mm above the bottom for standard vials, and adjust for inserts. Verify with a dummy run. A needle that hits the bottom can bend, and a bent needle causes carryover and injection variability.
Temperature and light
Autosampler trays at 4 °C reduce degradation but can cause condensation on vial exteriors, which may affect gripper handling. Amber vials protect light-sensitive compounds. For long sequences, validate that your analyte is stable for the full run time.
Carryover and washing
Use a validated wash solvent and sufficient wash cycles. Vial geometry affects carryover: wide-mouth vials and inserts with dead volume can trap sample. If carryover exceeds your acceptance criteria (commonly <0.1% for LC-MS), review vial choice and needle wash settings together.
Troubleshooting checklist
When results drift, work through this list before blaming the column.
- Ghost peaks or rising baseline: Check septum extractables, cap liner, and vial cleanliness. Run a blank vial with mobile phase.
- Injection volume variability (RSD > 1–2%): Verify cap torque, septum condition, and needle depth. Inspect for evaporation.
- Autosampler errors or dropped vials: Confirm dimensions and neck finish against instrument spec. Check gripper alignment.
- Ion suppression in LC-MS: Switch to low-extractable septa and ISO 7 packaging; pre-rinse vials.
- Adsorption of analytes: Use Type I glass, consider silanized or low-binding surfaces, and check pH.
- Leaks or evaporation: Re-torque caps to 0.8–1.2 N·m, replace worn septa, and verify crimp jaw gap.
- Particulates in the needle: Inspect vial interiors and packaging; avoid cardboard dust and use clean handling practices.
Regulatory and method considerations
If you work under GLP, GMP, or a regulated environmental method, document your vial choice. Methods such as the U.S. EPA SW-846 test methods specify sample handling and preservation; your vial must be compatible with those requirements. Keep certificates of analysis, lot numbers, and dimensional verification records. During audits, the ability to trace a vial lot to a sample batch is valuable.
For instrument-specific guidance, manufacturer resources are authoritative. Agilent publishes autosampler and consumable specifications at Agilent chromatography consumables & columns, and Thermo Fisher provides sample handling documentation at Thermo Fisher chromatography and sample handling. For method development and troubleshooting, Restek technical resources are a practical reference.
Recommendation: a practical standard kit
For most HPLC and LC-MS labs, standardize on the following and keep a second format only where an instrument requires it:
- Primary vial: 2 mL, 12 × 32 mm, 9 mm screw thread, Type I borosilicate 3.3, clear or amber as needed.
- Cap and septum: 9 mm screw cap with PTFE-faced silicone septum; replace after 50–75 punctures; torque to 0.8–1.2 N·m.
- Inserts: 150–250 µL pulled-point glass inserts for sample volumes below 150 µL; verify needle depth.
- Cleanliness: ISO 7 packaging and COA for trace and LC-MS work.
- Documentation: retain lot traceability and dimensional conformance records.
If you need a single supplier for vials, caps, septa, and inserts, evaluate a manufacturer with published specifications and consistent dimensional tolerances. The Aijiren Brand line is one option to benchmark against your current supplier, particularly for 2 mL screw and crimp formats.
Takeaway
Choose the vial the way you choose a column: by specification, not by habit. Confirm the format and neck finish against your autosampler, specify Type I borosilicate glass, use the right septum for your detector, control cap torque, and buy from a supplier who provides certificates and lot traceability. Those five decisions prevent most of the ghost peaks, injection variability, and autosampler errors that waste analytical time. Get the vial right and the rest of the method has a fair chance to perform.