
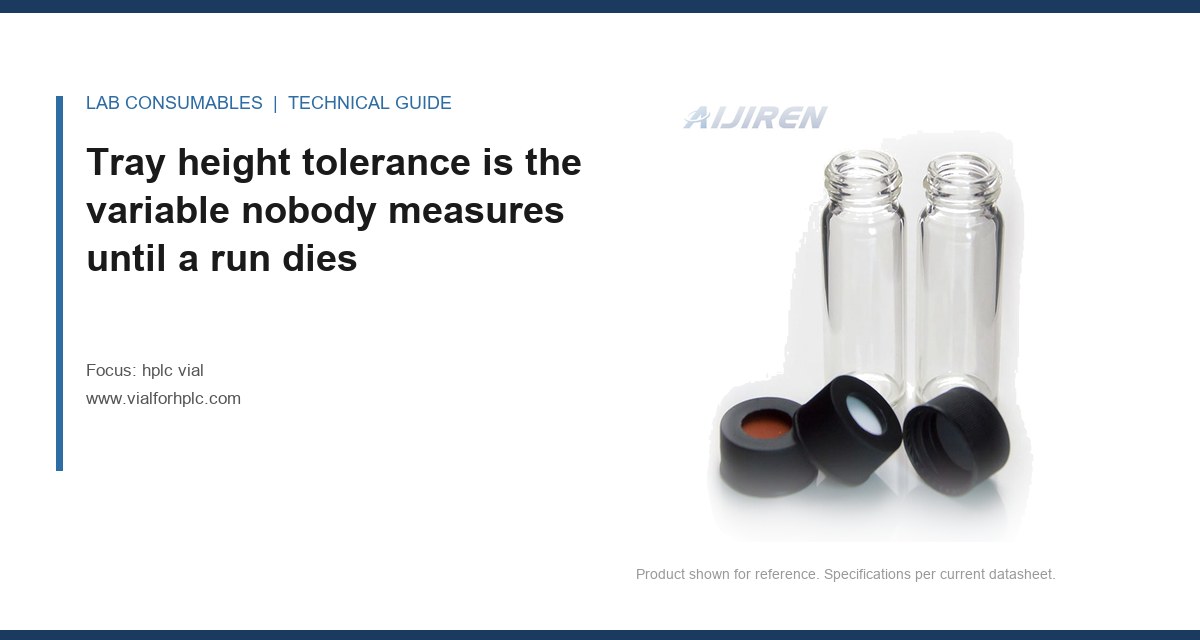
A 12 x 32 mm vial sitting 1.8 mm high in a tray well will pick up cleanly on Monday and fail with a “no sample” error on Thursday after the same tray has been loaded and unloaded eleven times. I have watched that exact drift take down a 96-position run at 3 a.m., and the vial was never the problem. The autosampler pickup error and misalignment that labs blame on “bad vials” is almost always a geometry stack: tray height, gripper tolerance, cap seating, and the small dimensional lies that accumulate between the drawing and the deck.
This piece is about the fit-and-alignment failure family specifically. If you want polymer extractables or septum chemistry, that lives elsewhere on this site. Here I am dealing with the mechanical interface between a glass cylinder, a plastic cap, a tray well, and a robotic gripper, and the error codes each mismatch throws on the instruments most labs actually run.
The autosampler does not know where your vial is. It knows where the tray well is supposed to be, based on a taught position or a factory calibration, and it assumes the vial bottom sits at a defined depth. On a 12 x 32 mm format the nominal body is 32.0 mm tall with a bottom OD of 12.0 mm, but the usable pick-up band is tighter than the catalog implies. A standard 9 mm screw-thread vial has a neck OD around 8.2 mm and a cap OD near 9.5 mm; the gripper jaws close on that cap, not the glass.
What actually matters for pickup is the vertical distance from the well floor to the cap’s gripping groove. That distance is set by three things stacked: the well depth molded into the tray, the vial’s overall height, and how far the cap is torqued down onto the thread. Change any one by half a millimeter and you are outside the gripper’s capture window on instruments with a fixed vertical approach.
I keep a simple rule. Measure ten vials from a lot with a digital caliper at the cap skirt to the base, and if the spread exceeds 0.3 mm, the lot is a candidate for intermittent pickup errors on tight-tolerance grippers. Most good lots hold 0.15 mm. The ones that fail hold 0.4 mm and up, and they fail on the third or fourth tray pass, not the first.
Why the tray, not the vial, is usually the culprit
Trays are molded plastic and they creep. A polypropylene tray that has been autoclaved or left on a bench under fluorescent heat will bow in the middle wells. I have measured a 6-well center sag of 0.6 mm on a tray that had seen two years of service. The vials were perfect. The tray was not.
The diagnostic is straightforward. Load a full tray with a single reference lot of vials, run a pickup-only test (no injection), and log which wells fail. If failures cluster in a geometric pattern, center or one edge, the tray is warped. If failures are random across the tray, look at the vial lot or the cap torque. That one test separates tray from vial in about twenty minutes and saves a week of finger-pointing with your supplier.
Gripper tolerance: the number your instrument manual buries in an appendix
Robotic grippers on autosamplers are specified by a capture window, usually expressed as a nominal cap diameter plus or minus a tolerance. A typical 9 mm cap gripper might be rated for a 9.5 mm cap OD ± 0.2 mm. That is a 0.4 mm total window. A cap molded at 9.8 mm will not seat in the jaws; a cap at 9.1 mm will slip through. Both look fine on a bench and both throw pickup errors in a run.
The trap is that cap OD varies by manufacturer and by mold cavity within a manufacturer. I have seen the same part number from the same supplier deliver caps at 9.4 mm from cavity A and 9.7 mm from cavity D. On a loose gripper both work. On a tight one, cavity D is a failure.
This is where I stop trusting the catalog and start trusting a go/no-go gauge. A machined aluminum block with a 9.6 mm slot and a 9.2 mm slot tells you in two seconds whether a cap will be gripped. If it drops through the 9.2 mm slot or jams in the 9.6 mm slot, it is out. The gauge costs less than the downtime from one failed overnight run.
Cap seating: the torque value that decides whether the gripper has anything to grab
A screw cap that is under-torqued sits high on the thread. The gripper closes on the cap skirt at a point that is 0.5 to 1.0 mm above where it expects the gripping groove, and the pickup either misses or grabs a partial bite and drops the vial mid-transfer. Over-torqued caps are a different failure: the septum deforms, the cap sits low, and the gripper grabs the glass neck instead of the cap, which is a coring and needle-damage path I have covered before.
For 9 mm screw-thread vials the working torque band is roughly 0.6 to 1.2 N·m on a calibrated capper. Hand-tightened caps are all over the map; I have measured 0.3 N·m on a “tight” hand cap and 2.1 N·m on a determined twist. If your lab caps by hand, you have a torque distribution, not a torque value, and that distribution is a pickup-error generator.
A torque tester is a $200 to $400 bench instrument. Set it to the mid-band, cap a batch of twenty, and check the spread. If the standard deviation exceeds 0.2 N·m, your capping process is the problem, not the vial.
The error codes each misalignment actually produces
This is the part that saves the most time. Different instruments report the same physical problem with different codes, and techs chase the wrong subsystem because the code name points at the wrong thing. Here is what I have seen across the common platforms.
| Instrument family | Typical error text | What it usually means physically |
|---|---|---|
| Agilent 1260/1290 autosampler | “Vial not found” / “Gripper error” | Cap OD outside gripper window or vial sitting high in well |
| Agilent 7697A headspace | “Vial missing” / “Tray position error” | Tray height drift or warped well floor |
| Thermo TriPlus / AS3000 | “Vial position error” / “No vial detected” | Under-torqued cap (gripper grabs high) or tray offset |
| Waters 2707 / e2695 | “Vial detection failure” / “Gripper failed to grip” | Cap OD too small for jaws or cap seated low |
| Shimadzu SIL-30AC | “Rack error” / “Vial not detected” | Rack seated off its locating pin or vial height out of band |
The codes are not standardized. The physical causes are. When you see any of them, the diagnostic order is the same: tray seating, then vial height, then cap OD, then cap torque. Work that order every time and you stop guessing.
For instrument-specific tolerance tables, the manufacturer documentation is the authority. Agilent publishes autosampler specifications in its chromatography consumables and accessories documentation, and Thermo’s sample-handling pages carry the TriPlus gripper specs. Do not trust a forum post over the manual’s stated capture window.
Two field cases where the vial was innocent
Case 1: the tray that bowed after autoclaving
A contract lab running a 60-position tray on a Thermo AS3000 started seeing “vial position error” on wells 31 through 38, every run, for three days. They had swapped vial lots twice and were about to reject a shipment. I asked them to run a pickup-only test with one reference lot. Failures clustered in the center six wells.
The measurement: I set a straightedge across the tray and measured a 0.7 mm sag at the center. The tray had been autoclaved at 121 °C, which is above the heat-deflection point for the grade of polypropylene used. The fix was a new tray and a rule: no autoclaving sample trays, ever. The rejected vial lot went back into service and never failed again.
Case 2: the cap cavity that drifted
A pharma QC lab on a Waters 2707 had intermittent “gripper failed to grip” errors on roughly 1 in 40 vials, always on the same capping line. The vial lot was fine. The caps were fine on average. The problem was a single mold cavity.
The measurement: I gauged 200 caps through a 9.6 mm go/no-go slot. Eleven caps jammed, and all eleven traced to one cavity number molded inside the cap skirt. The cavity had drifted to 9.72 mm OD against a 9.5 mm nominal. The fix was a supplier conversation about cavity-level SPC and a go/no-go gauge at goods-in. The 1-in-40 failure rate dropped to zero.
Both cases share a shape: the failure was real, the vial was blamed, and a measurement under 1 mm identified the true cause. That is the pattern in this whole failure family.
A fit-and-alignment checklist you can run in an afternoon
When pickup errors start, work this list in order. Each step has a pass criterion, so you are not making judgment calls at 2 a.m.
- Tray seating: confirm every tray is fully seated on its locating pins with no rock. A tray that moves 0.5 mm under finger pressure is a failure.
- Tray flatness: straightedge across the tray, measure the maximum sag. Pass is under 0.3 mm. Anything more, replace the tray.
- Vial height: caliper ten vials from the lot, base to cap skirt. Pass is a spread under 0.3 mm and a mean within 0.2 mm of nominal.
- Cap OD: go/no-go gauge every cap on a new lot. Pass is every cap between 9.2 and 9.6 mm.
- Cap torque: torque tester on twenty caps. Pass is mean in the 0.6 to 1.2 N·m band with SD under 0.2 N·m.
- Gripper capture test: run a pickup-only pass on a full tray with a reference lot. Pass is zero failures across three consecutive passes.
If all six pass and you still get pickup errors, the problem is the instrument’s taught positions or the gripper itself, and you are into service-call territory. But in my experience, four out of five pickup-error tickets close at step two or step four.
Why the vial spec sheet will not save you here
Vial drawings specify nominal dimensions with tolerances. They do not specify the stacked tolerance of vial plus cap plus tray plus gripper, because no single supplier owns that stack. The autosampler maker owns the gripper window. The tray maker owns the well depth. The vial maker owns the glass height. The cap maker owns the OD and the thread. Four suppliers, one interface, no one accountable for the sum.
That is why I treat the vial as one component in a fit stack and demand dimensional data from each supplier at the interface that matters. For vials, that is overall height and neck OD. For caps, that is OD and thread engagement depth. For trays, that is well depth and flatness. If a supplier cannot give you a process capability number (Cpk) on those dimensions, you are buying nominal values and hoping.
The HPLC vial range at vialforhplc.com publishes dimensional data at the interface, which is the minimum I would accept from any supplier. The broader chromatography consumables catalog and the lab vials listings are worth cross-referencing when you are matching a vial format to a specific tray and gripper. And if you are sourcing at volume, the Aijiren brand line is one I have seen hold cavity-level consistency on cap OD, which is the number that decides whether your gripper has anything to grab.
For method-level context on why dimensional consistency belongs in the analytical method, USP <621> and the EPA SW-846 test methods both assume the sample container is fit for purpose; neither will save you from a cap that is 0.2 mm out. The Restek technical resources and the Thermo Fisher chromatography and sample handling pages carry instrument-side tolerance tables that are worth keeping in the lab binder next to your torque tester.
Set the spec at the interface, not at the catalog line
If you take one thing from this, make it the decision rule: specify and verify at the interface, not at the product line. That means a go/no-go gauge on every cap lot, a caliper check on every vial lot, a straightedge on every tray in service, and a torque tester on the capping station. Four cheap instruments, one afternoon of training, and the pickup-error family stops being a mystery and becomes a checklist. The vial is a cylinder with a cap; the failure is almost always the 0.4 mm of stack tolerance around it that nobody wrote down.
References & further reading
Related resources from our lab consumables network:
- Hplc Vial at vialforhplc.com
- Chromatography Consumables at chromatographyconsumables.com
- Lab Vials at labvials.com
- Aijiren Brand at aijirenvials.com
External references and standards: